Lovely Polka Dot Bride reader Jaime shared the first DIY stationery project her and her fiance Ben have ever done together- their magnet save the dates!
Jaime shared with me the thoughts and process behind the photos of their creations!
“The decision to DIY our wedding stationery came naturally as we’re on a tight budget and both love the personalised touch. I’m a multimedia design graduate and thought I’d put some of what I learned in school to good use and what better time to do so than for your own wedding? We initially thought we’d get right to the wedding invites but as most of our guests are overseas, a save-the-date would be perfect to help them with their travel itineraries and plans.
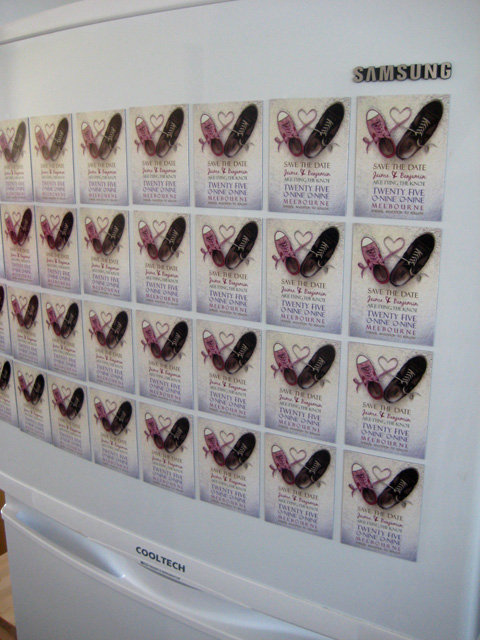
The magnet idea came about when I was looking for something that people won’t just open, read, and chuck aside only to be lost in piles and piles of clutter. I also grew up
in a kitchen with the family fridge covered by magnets from trips around the world. Some of them have been stuck there for years and hold a lot of memories so I thought it would be great if every time our guests were looking for food, they would see a reminder of our wedding right at “the door”.
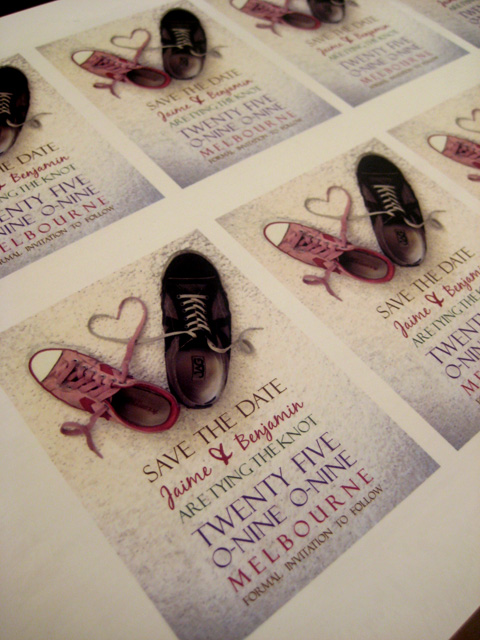
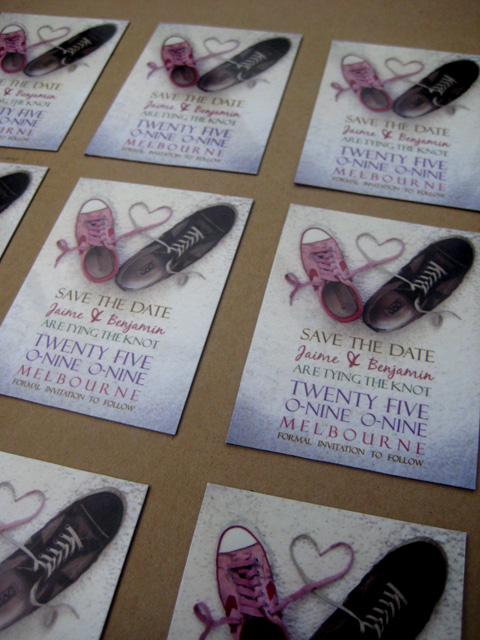
Ben and I both love shoes and having recently won a shoe design competition, I was inspired to use that as a concept for the design. I took a photo of his and my shoe on my white Ikea bathroom mat on a rainy day.
The original idea was to take a picture of the shoes on lovely green grass seeing that our wedding will be in Spring this year. But the weather had been pretty gloomy and time was ticking so I played around with a few different backgrounds – my kitchen tiles, the carpet in my living room, and the Ikea bathmat that worked out real well in bringing out the colours of the text (our wedding colours).
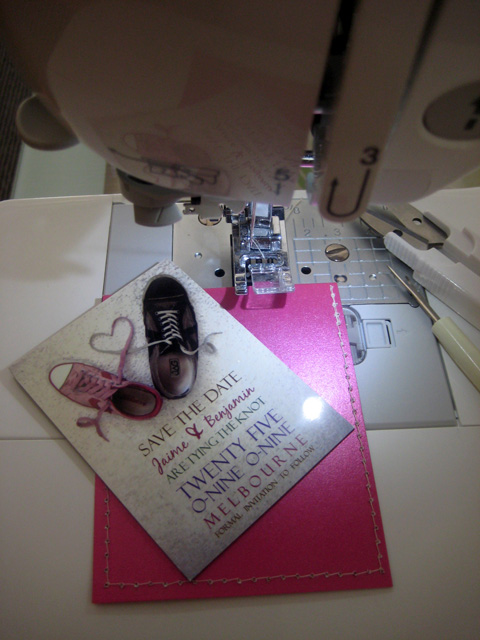
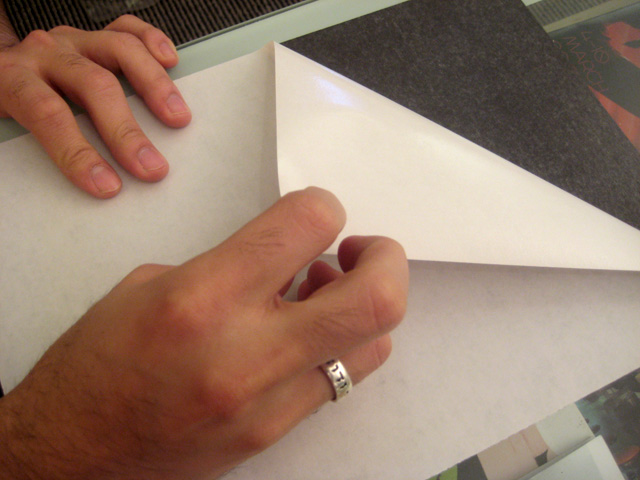
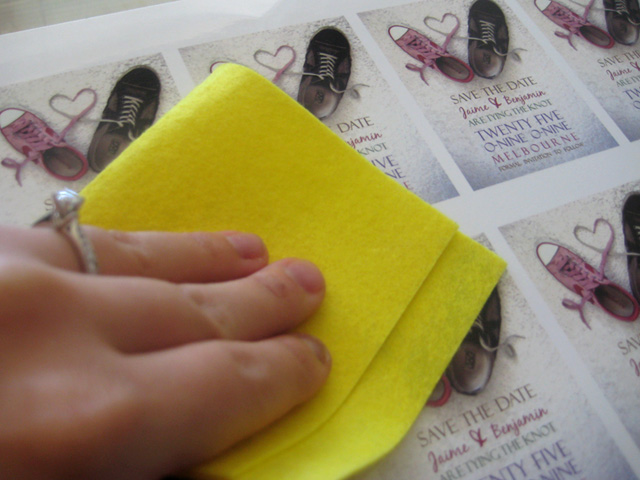
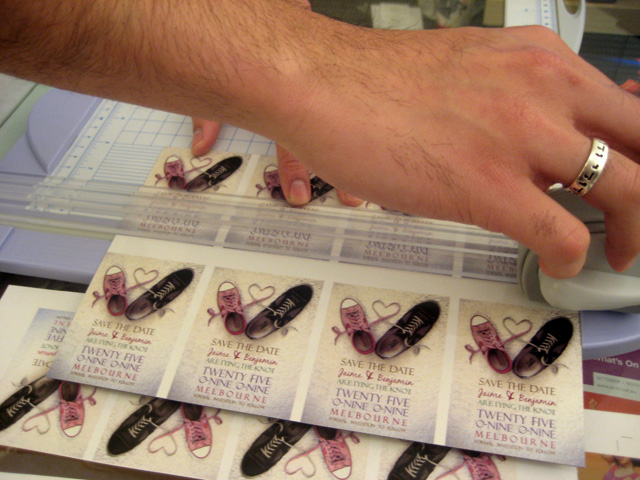
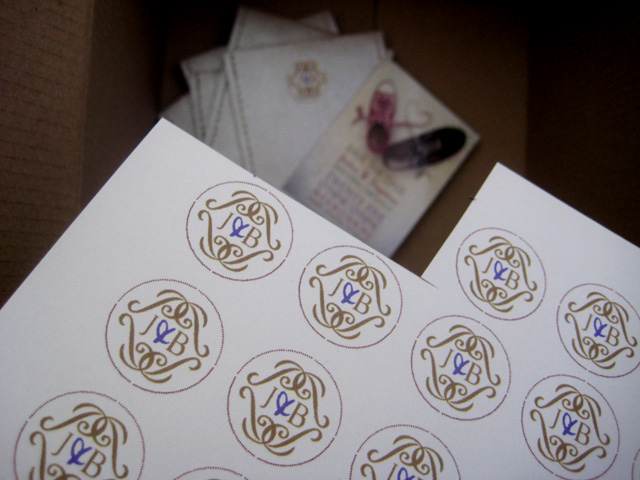
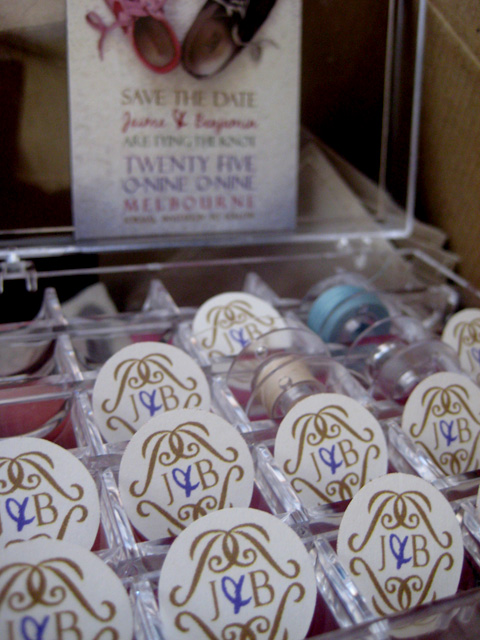
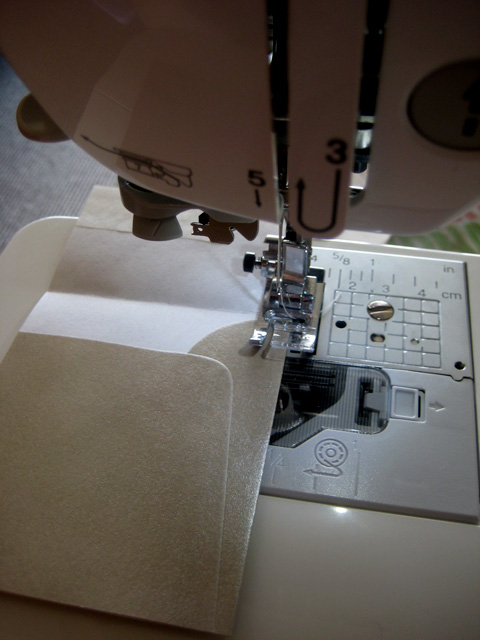
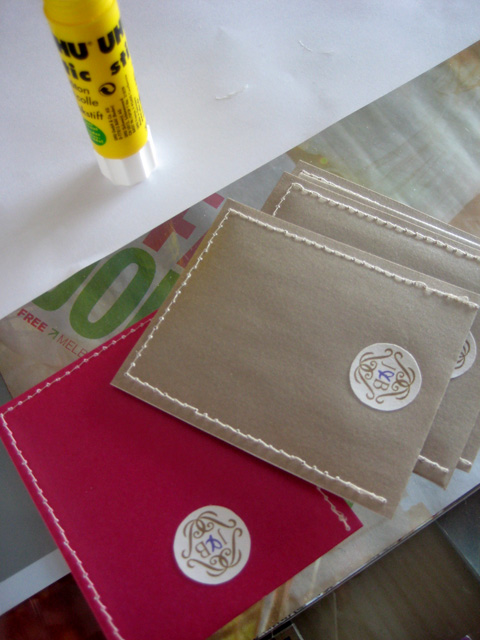
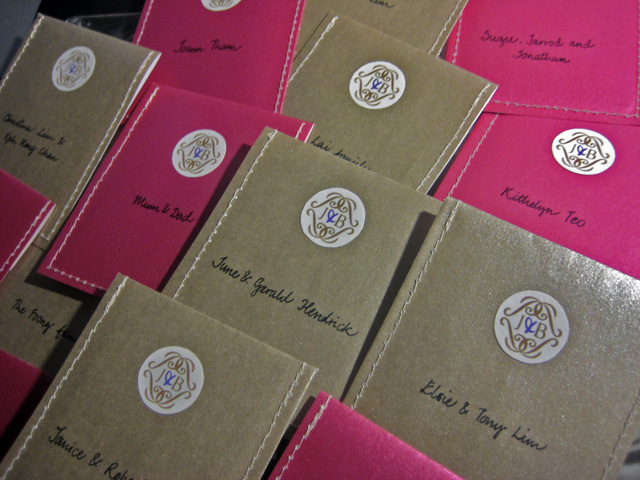
I purchased the A4 adhesive magnet sheets from Print Magic Paper and also the non-toxic waterproof solution that would help protect the print especially if it was gonna be stuck on a fridge in the kitchen (you never know what goes flying in a food fight!). We printed the design on the white A4 sheets, applied the solution, stuck them onto the magnets and cut them up into individual sizes. We then made the pouches out of leftover DL envelopes I had bought years ago from Paperpoint, found in my stationery drawer, sliced into three, and stitched the sides on my sewing machine for a leather journal effect. The final touch was cutting circles of our monograms and sticking them on.
Our monogram is a very simple two tone design – J for Jaime, B for Ben, and surrounded by the letter P representing both our family names. Ben says the bottom two Ps look like a b and a J, and I never noticed it before! He didn’t think he’d be much help but it was definitely a team effort getting the magnets done.
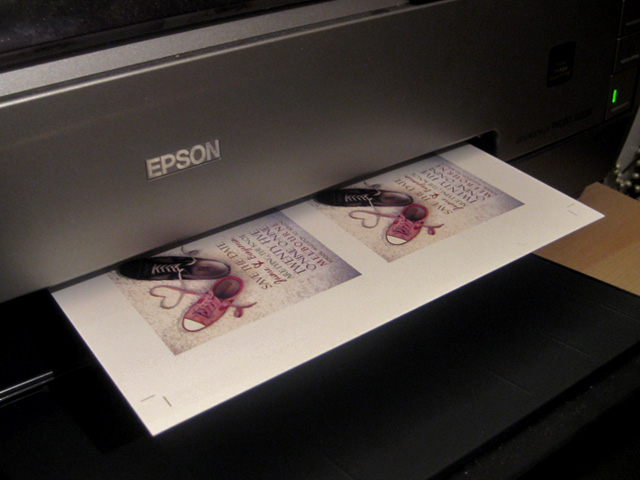
We invested in a second hand archival inkjet printer that I got off Ebay about a year ago because I wanted to start working on making products for Etsy and it has been one of the best investments ever. Making our wedding stationery together by hand has been an absolute joy and a great way to spend time with each other leading up to the wedding. As we walk down the same path on this journey to the aisle, it’s kinda nice to look back and remember the days of sticking and cutting magnets together.”




gorgeous image, clever couple xx
Wow. Very cool stuff.
I am absolutely drooling over this! Can you please tell Jaime to open an etsy shop and sell me some of those magnets! I must have them for my fridge!
Very creative and original….I love that!
Love this!
That is one gorgeous Save the Date. I love it!!
That is so cute. It shows their personality so well. If I were to receive a save the date like that I would be so excited to get to that wedding and see what other exciting things they had planned
Thanks a million for featuring our little DIY project, Ms Polka! I am constantly inspired by Polka Dot Bride and the ideas shared with us brides-and-grooms-to-be.
And to all the readers who have commented, we can’t thank you enough. 🙂 I literally froze reading all your comments as I soooooooo admire your individual works of art and to get the thumbs up from the pros themselves really moves me.
We hope this encourages other couples out there to not be afraid of the simple projects they can do together that would create memories for years to come.
Oh and Jenna, I’ll leave you a message on your blog. 😉