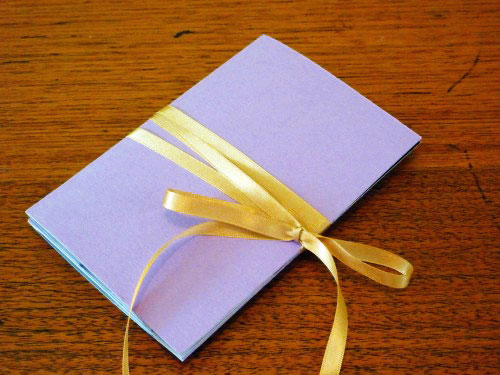
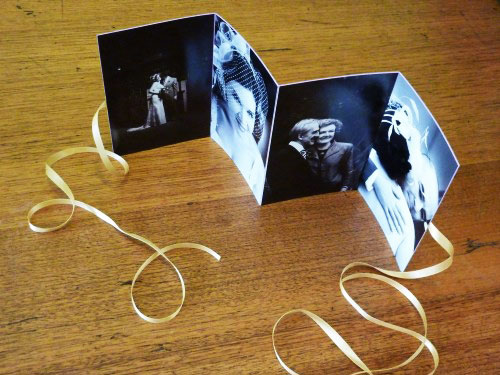
You’ve got your professional wedding photos in a coffee table book, but how about the rest of your family? Your wedding was a special day for your parents and grandparents too, so why not make them a photo keepsake? Sure, they don’t need every photo, but they will appreciate having a handbag-sized album that they can show to friends or display on the mantle.
You will need:
- Thick, coloured card (I recommend going to an art shop instead of a newsagent)
- Contrasting satin ribbon, cut in half
- Selection of photos from your wedding (an even number such as four or six)
- Double-sided tape
- Cutting mat
- Metal ruler
- Scissors
- Pencil
- Craft knife
- Scorer
- Bone folder
Instructions:
1. Along the edge of your paper, mark the height of the photo (it should be around 15cm). Along the other edge of your paper, mark out the width of the photo (about 10cm), adding an extra millimetre or two to allow for the fold. Repeat until you have a panel for each photograph (remember: it must be an even number!).
2. Trim your paper to size using the knife.
3. Score your card at each of the markings.
4. Apply a strip of double-sided tape horizontally across the centre of the last panel; remove backing. Repeat on first panel.
5. Lay the end of the ribbon along the exposed tape on the first and last panels and press down.
6. Apply double-sided tape to the edges and centre of the back of each photo.
7. Remove backing from double-sided tape.
8. Carefully stick a photo on each panel.
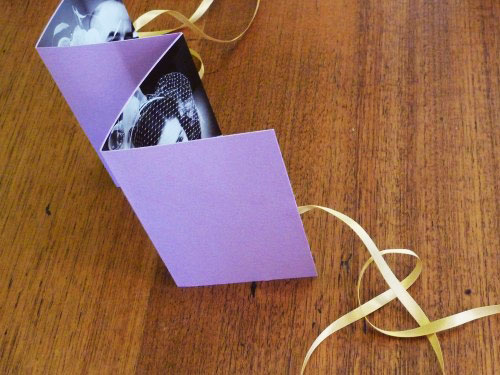
9. Fold over the first panel and press flat with a bone folder. Continue folding the remaining panels, alternating directions to achieve a concertina style.
11. Wrap the ribbon around the middle of the album (I’ve wrapped it around several times as a decorative feature but once is enough).
12. Tie at the right edge into a bow.
There you have it: The perfect brag book for nanna to take to the bowls club.
Ms Gingham says: “This is a fantastic idea for a brag book. Experiment with different patterned papers, ribbons and even decorations for a really personal touch. Thanks again to Alicia from Akimbo for another great idea. Visit Alicia’s blog where she writes about all things creative and cute ATypical Type A.”


This is a gorgeous project Alicia- one for the engagement and even baby photos too!
Thanks, Ms Polka. Yes, it’s very versatile. And quick too, so no excuses not to do an album!