What you will need:
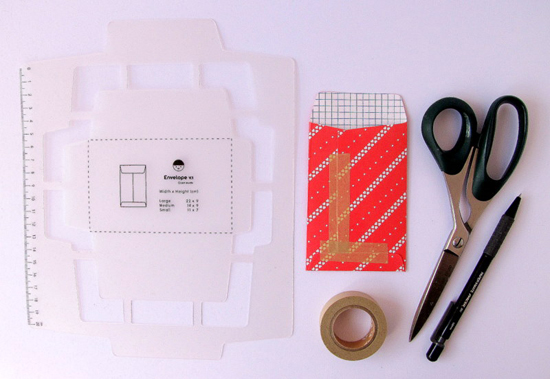
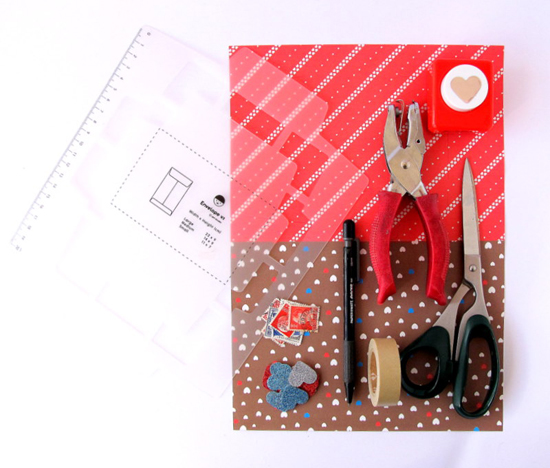
- Patterned paper
- Pencil
- Envelope template or an old envelope
- Tape or glue
- Eraser
- Scissors
- Glittered cardstock (craft shop)
- Craft punch
- Hole punch
- Old stamps
- A4 label sheet
Step 1
Use the envelope template (I found mine on Etsy) and trace the shape onto the patterned paper with your pencil. You can also open up an old envelope carefully and use as your template, it works just as well.
Cut out your shape and rub out any pencil lines. Fold the two sides of your envelope in and tape or glue in together. Then fold the bottom of your envelope up and tape or glue. I like to put my envelopes under a big book for a night the give them a nice crease.
Step 2
Print the bride and groom’s names and wedding date onto the label sheet in a nice font. I use an A4 sheet and print multiples. Leave a good margin to the left so that you can wrap the label to the back of the envelope. Measure and cut a ‘<’ shape in the right side. Stick your label down.
Step 3
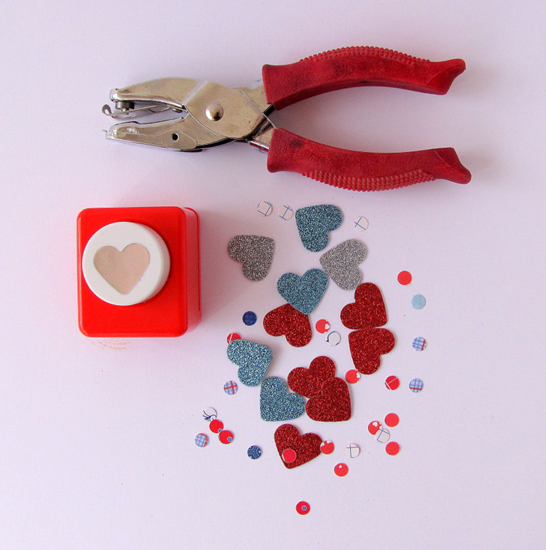
Punch time! Punch glittered shapes using the heart punch. Don’t be afraid to try other shapes – you can find punches at major craft shops like Spotlight or Lincraft or scrap-booking shops. Use the hole punch to punch small circles from the left over envelope paper, magazine pages or scrap papers that you may have around. I try to stick to the 60/30/10 rule when choosing colours – 60% of the main colour, 30% of a complimentary colour and 10% of a contrasting colour.
Step 4
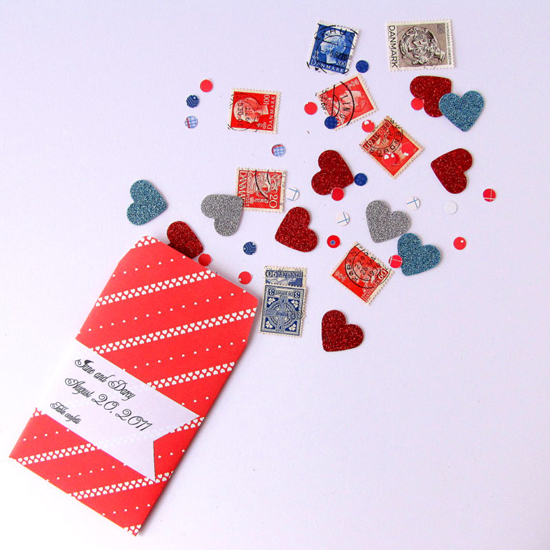
Add in some old stamps to the mix. If the bride and groom are from different countries – try to find stamps from their respective countries for a personal touch. I have used Danish stamps (borrowed from my husband’s childhood collection) though you can find old stamps on Ebay or Etsy. Fill your envelope with the glittered shapes, small circles and stamps. Seal your envelopes and leave on the table for your guests to decorate for you.
I hope that you find this tutorial easy and inspiring!
Photography by Paperklip
Ms Gingham says: I always thought making envelopes would be WAY too hard but having read this I may even give it a whirl myself. No more hunting around stationery shops for the perfect envelope. Thanks to Melinda for sharing this great project with us.
About Melinda: Hello! My name is Melinda Andersen and I am thrilled to create a wedding craft project for Polkadot Bride. I can usually be found over here at Paperklip – where I create garlands and place cards and paper things.


What a great tutorial… this could be a great idea for our ‘save the date’ cards that I keep on meaning to organise… :p