

Are you ready for one last modern geometric tutorial to finish off the series?
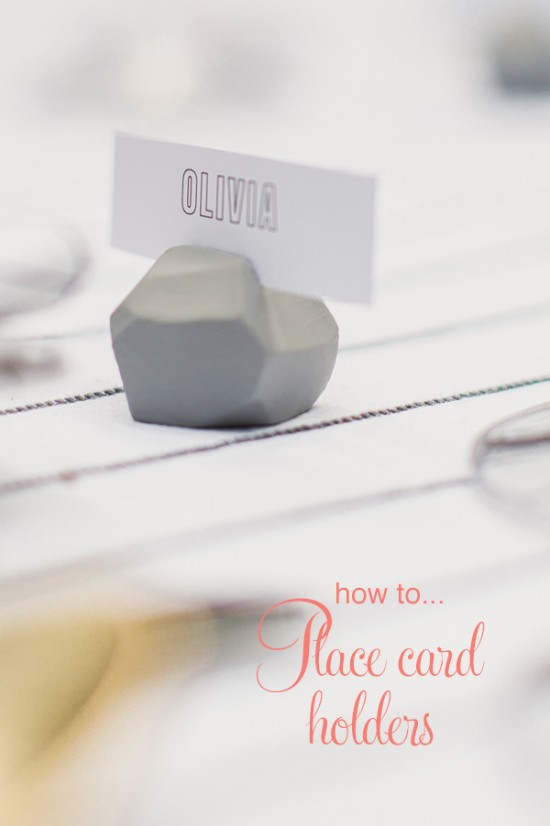
These diy place card holders are easy to make and so much cheaper than buying little metal holders.

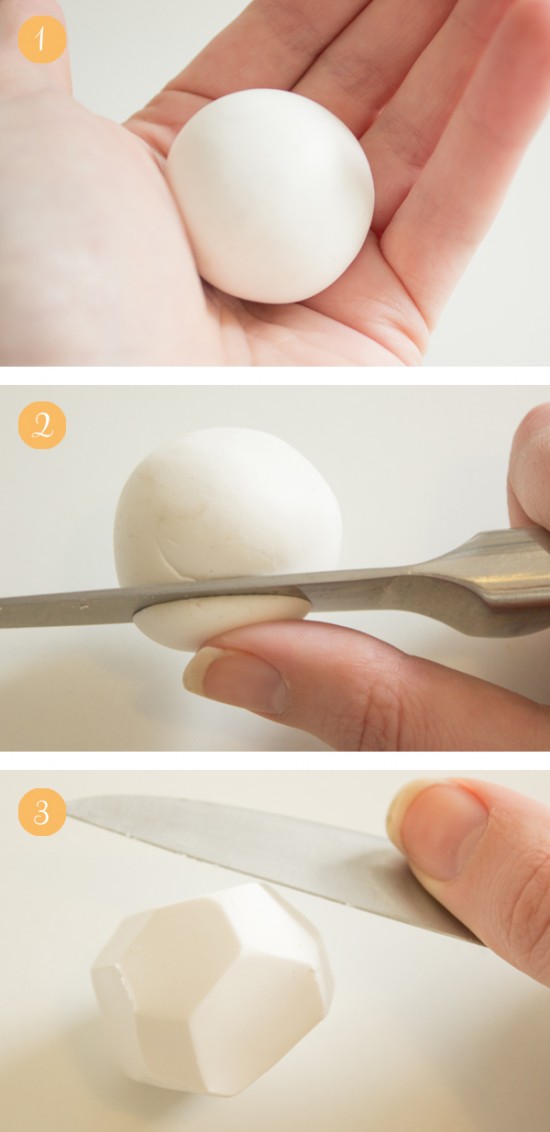
1. Cut modelling clay into even pieces and roll into balls (they should be roughly the size of a golf ball).
2. Using a sharp knife, cut off a thin slice of clay.
3. Continue slicing the round edges until you are left with a faceted shape you’re happy with.
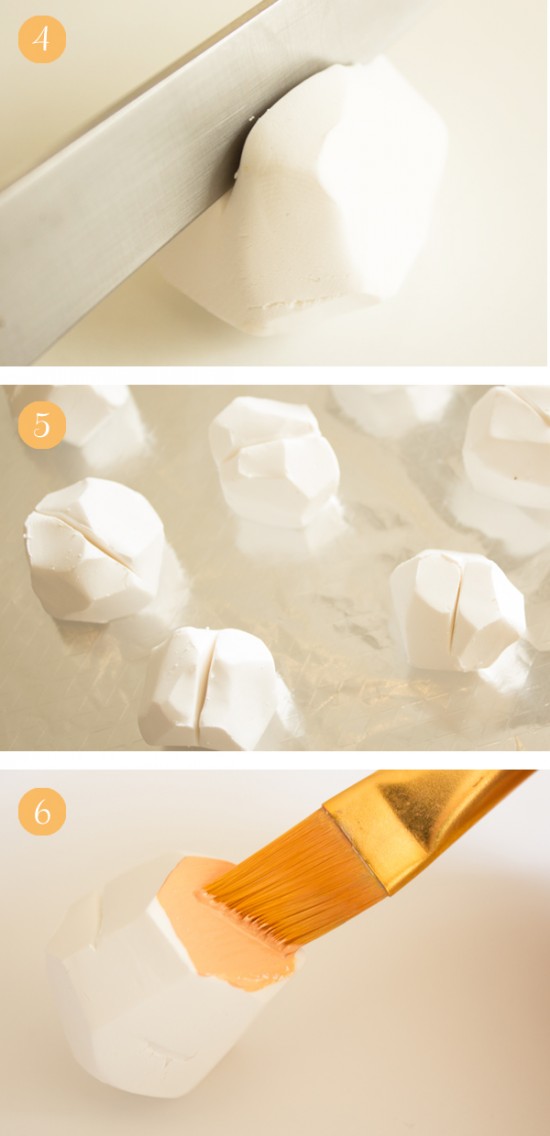
4. Make a vertical slice into the top of the clay shape, making sure that it’s directly opposing a flat size that will act as the base. Also keep in mind that you’ll need to keep the depth consistent and in proportion with your place cards.
5. Place the clay pieces onto an oven tray lined with foil and bake according to packet instructions; allow to cool. Smooth any rough edges with fine grit wet/dry sandpaper.
6. Apply two coats of acrylic paint in your chosen colours; allow to dry. If any paint has clogged up the slit, simply slice through with the knife.
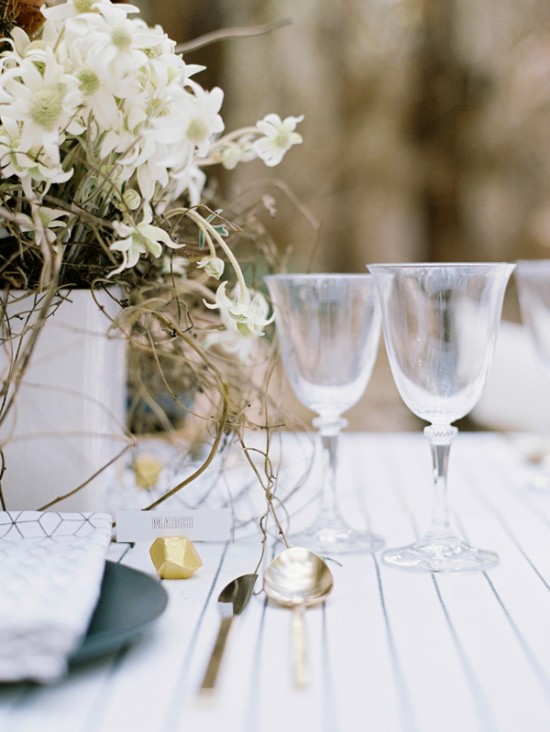
These fun holders can be used for place cards, escort cards or buffet label holders. They’d be especially handy for an outdoor celebration where paper cards alone may blow away.
![]()
I am Alicia Parsons, the Atypical Type A. I live in Adelaide, South Australia in a modest townhouse with my new hubby Ryan (aka The Man). I am the owner and graphic designer behind Akimbo, which specialises in quirky invitations, announcements and greetings.
Alicia contributes regular DIY projects to Polka Dot Made. You can view her posts here.


Love these DIY geometric place card holders! What type of clay did you use? I want to find one that will be the easiest to cut and the smoothest. Thanks!