

Hanging floral arrangements are appearing at weddings and bridal showers everywhere. I have come across countless events with beautiful bright flowers or greenery in varying arrangements hanging from ceilings, high on walls and even trees. And I can understand why.
Extending your decorating to above ground level, opens up a whole new opportunity to add colour and whimsy to your wedding day celebrations. The best thing? Creating your own hanging arrangement isn’t as difficult as you might imagine.
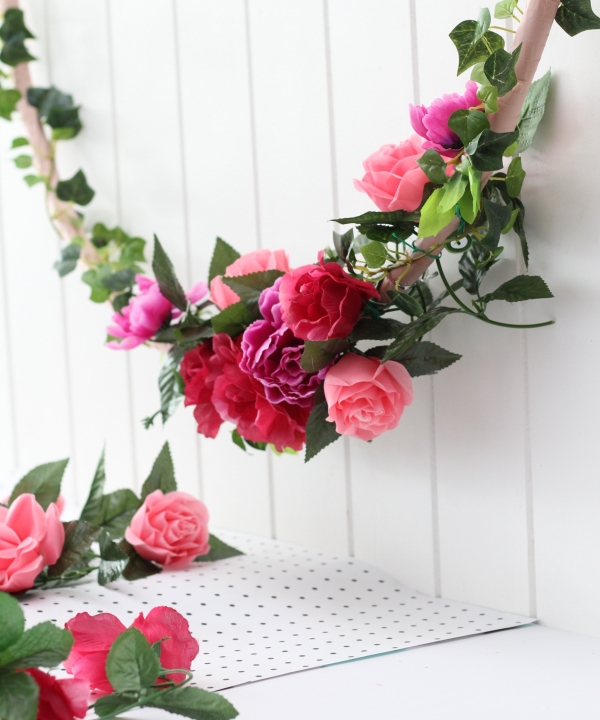
In this tutorial, I am creating a large scale hanging floral garland using easily acquired materials and a simple process. I used a hula hoop wrapped in tissue paper as the circular base and faux flowers attached with floristry wire. The beauty of using faux flowers is two fold. Firstly, they are more robust so you can change the position of these flowers countless times without fear of damaging the final product. Secondly, you can create the hoop ahead of time which, of course means you will have more time closer to the wedding to do all of those important last minute jobs that always seem to pop up.
When imagining this garland at your wedding, don’t be limited by size or number. Imagine how beautiful these flower filled hoops would look in various sizes – en masse!
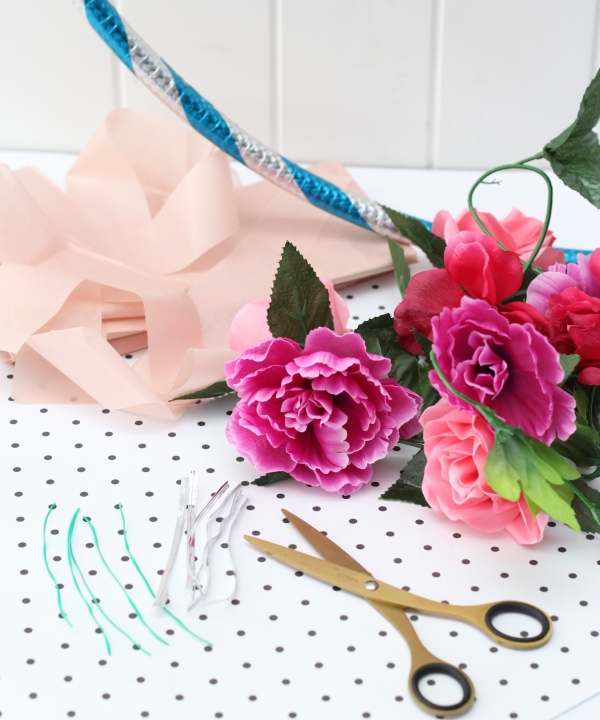
What you will need:
1 hula hoop
Assortment of faux flowers and greenery (I found mine at Spotlight)
1 metre of ribbon or twine to hang hula hoop
3 sheets of tissue paper
Sticky tape
Scissors
Twist ties
Florist wire cut into 2.5 cm pieces
What to do:
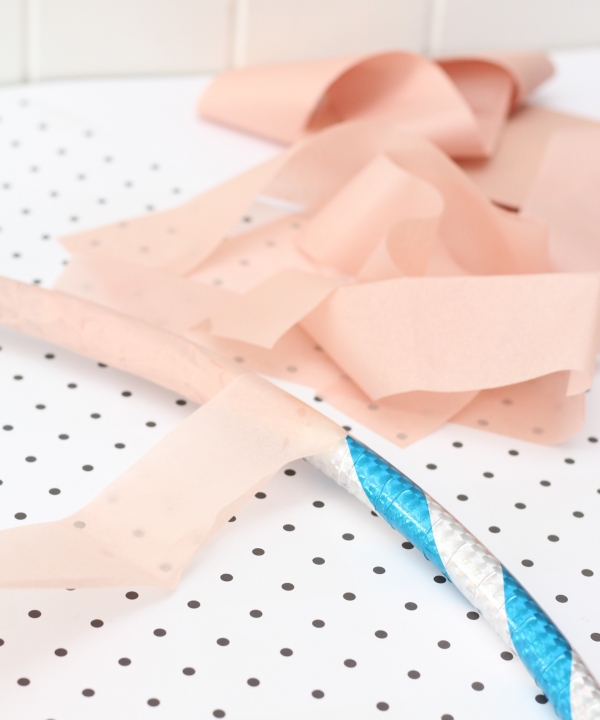
Step 1. Cut tissue paper into one-inch wide sized strands.
Step 2. Take your time to wrap each strand of tissue paper around the hula hoop, fastening each end with a small piece of sticky tape. Try to keep the sticky tape hidden by the next piece wrapped around or, if necessary to show, arrange so it is at the ‘back’ of the hula hoop when it is hanging.
Step 3. Once the hula hoop has been completely covered, use a piece of twine or ribbon to hang the hula hoop. Hanging the hula hoop at this stage will make it easier to arrange the flowers.
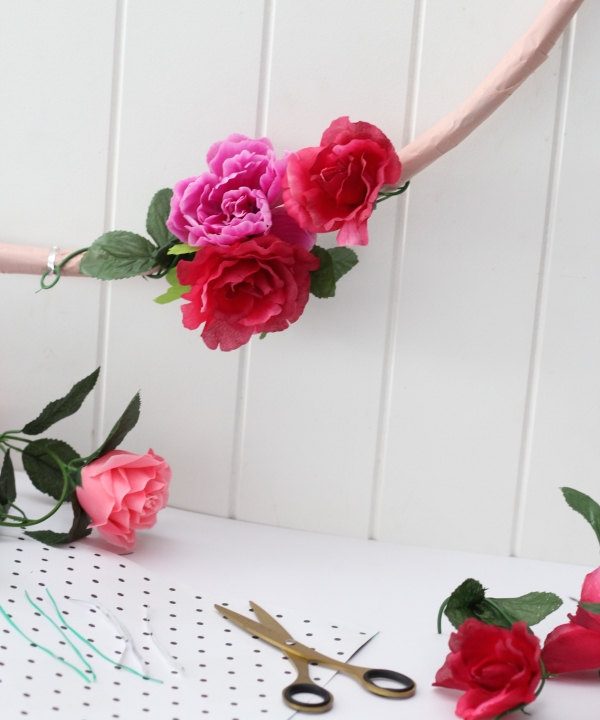
Step 4. Have all of your flowers, greenery and wire ready at your fingertips. Slowly, attach flowers one at a time to the hula hoop using the stronger twist tie wire. I used three different types of flowers, and three of each type. I also started with three flowers arranged off centre in the bottom corner, and built the arrangement around these three flowers. Have fun with this part of the process – take your time and embrace your creativity.
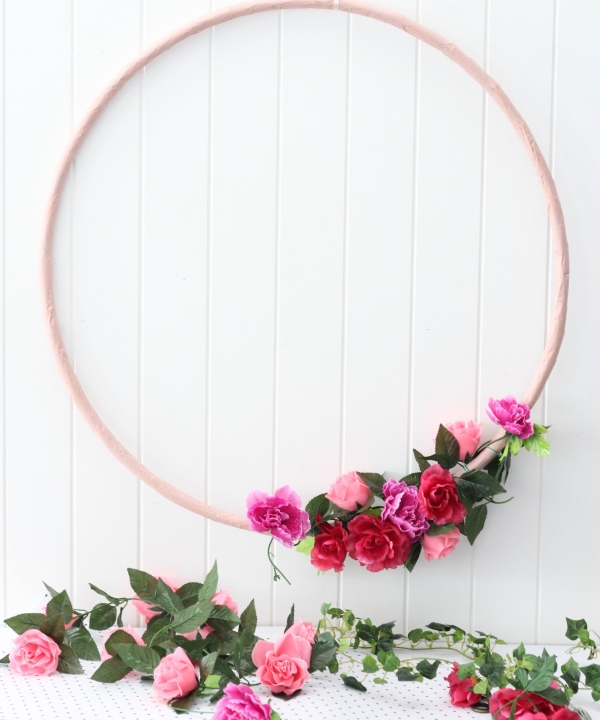
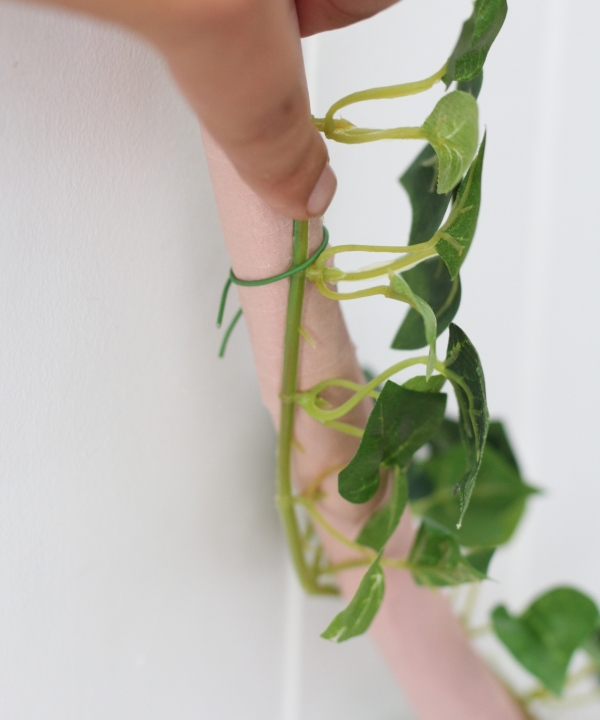
Step 5. Once you are happy with your flower arrangement, use a greenery vine to fill the gaps and wrap around the hula hoop approximately 30 cm from the main arrangement. Attach the end of the greenery with a small piece of floristry wire. Trim excess wire.
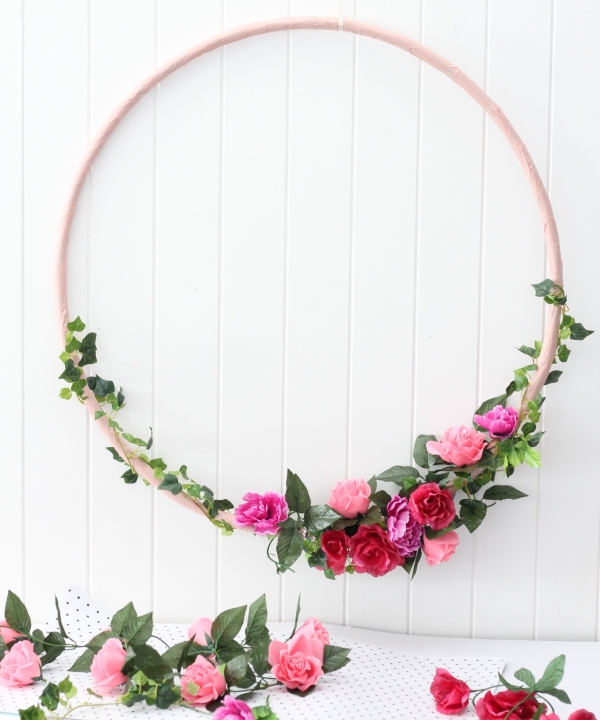
Step 6. Take your time to adjust the arrangement as necessary. It’s a good idea to step away from the project for a moment and return with fresh eyes to see if there are any gaps or inconsistencies that need to be adjusted. Don’t be limited by size or number.
Hints & Tips:
- A good rule of floristry to remember is to always work in odd numbers. One, three or five of each flower would work well with this project.
- Play around with different colours – a dark navy hoop on a light background would look striking, or pastel flowers with a bright hoop would create a contrasting effect.
- The goal is to create an arrangement which is not too uniformed, but whimsical and natural looking. Take your time to play around with different positions for the flowers and see which one works best.
![]()
Ms Chinoiserie Says: So pretty – and so simple. How beautiful hanging from the trees for a garden party reception.


Join the conversation