Well, I was looking for a fabulous find for our wedding … fascinators!
We’re having a vintage music themed affair, with bits and pieces of our personality throughout. One part of my personality that I want to highlight is how much I love fascinators! It may not seem strange or rare, except that I live in Canada. Fascinators aren’t very popular over here, even though the Royal weddings of late have helped inspire some less informed people over on this side of the Atlantic. The trouble is, they aren’t easy to find … and when you do find them, they’re not very affordable. So … it was time to add another project to our DIY wedding!
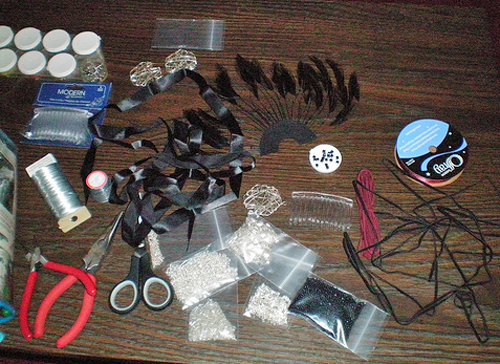
I didn’t really know what I was doing, so I went first to our local craft store to browse around. What did I end up with? These supplies:
- plastic combs
- ribbon (black and burgundy, our wedding colour)
- black suede wrap
- gold beads
- feathers
- an accent piece
Then how did I do it?
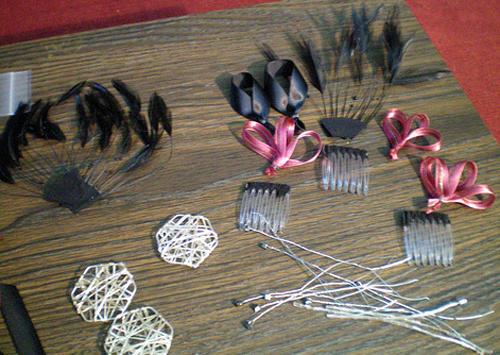
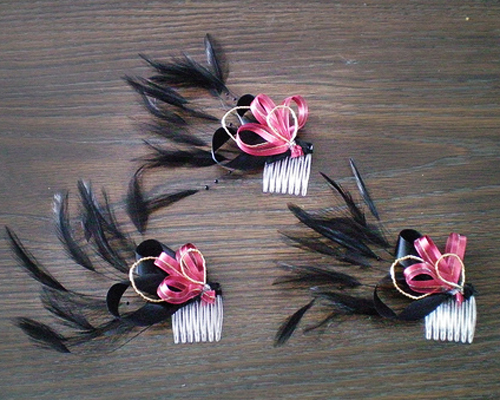
I started by putting the items into 3 different groups, as I knew I was making 3 fascinators and didn’t want to run out of materials. I grabbed my hot glue gun, some fine wire, and started to build my details (loops, beads, etc).
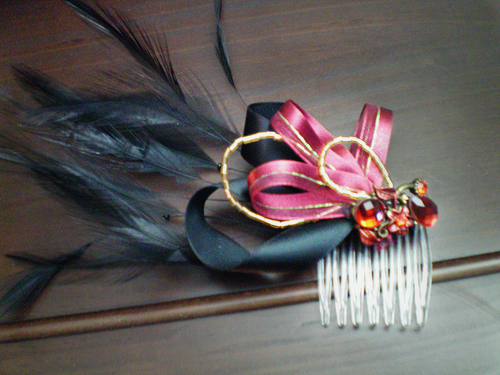
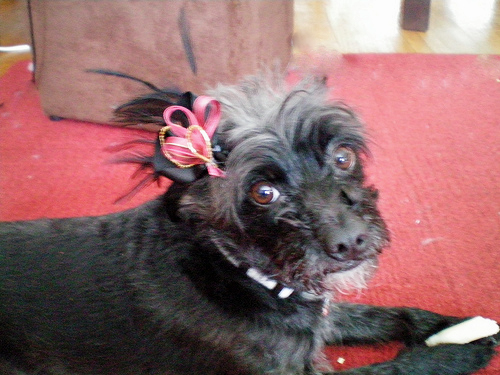
I put the largest piece at the back (our feathers) and built loops to give the piece some weight going forwards. Each loop is easy to build on it’s own, and I suggest doing just that. If you build the details separately, you can test to see what it will look like all put together before you actually put it together for good. With one last accent piece which matched our burgundy/wine and gold wedding colours, they were finished! And my cute pup Pokaroo was pleased to model after waiting so patiently for me to be done. 🙂
Photos from Beth’s collection
Ms Gingham says: Cute little fascinator project!! I can imagine these looking gorgeous on the bridal party.
Beth describes herself as: “Canadian Bride challenging traditional wedding rules to design her dream nuptials. DIY is her middle name.”
Read about Beth and Glenn’s Engagement here.




Join the conversation