

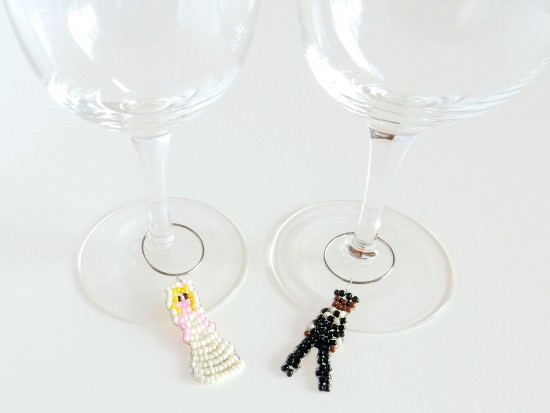
With a pop of colour, these delicate beaded charms will help you tell your drinks apart. Place them around the handles of teacups at a bridal shower or the stems of wine glasses at an engagement party or wedding reception. Once you’re familiar with the beading technique you can whip these up in no time!
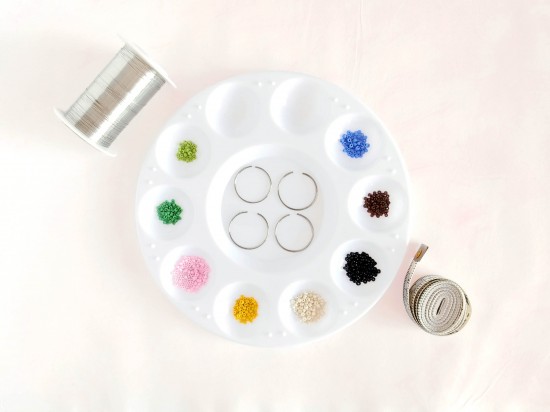
You will need:
- Wine charm rings
- 28 gauge wire
- Size 12 seed beads
- Measuring tape
- Container to hold beads
- Beading charts: download here
- Wire cutters or an old pair of scissors to cut the wire
The bride is worked in one piece whilst the groom, bridesmaid, and groomsman are made with one piece of wire for the body and another piece of wire used to connect each leg.
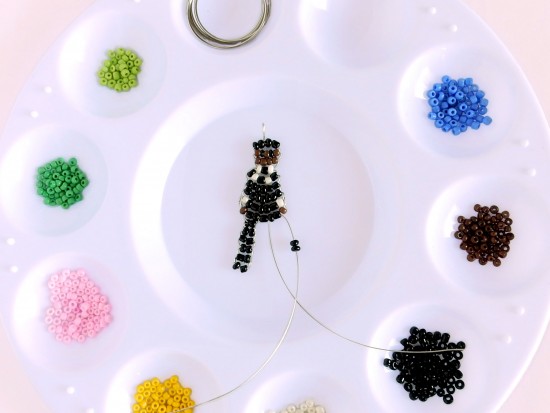
Separating the beads by colour will make them easier to work with: I used a paint palette to keep the colours apart. The beading charts list the specific number of beads in each colour you will need for each charm, and the lengths of wire.
Step 1. Start each charm by finding the centre of the wire (or the longer wire for the groom, bridesmaid or groomsman) and forming a small loop, twisting the loop twice to secure. Thread half the beads for the first row on either side of the loop so it will be in the centre (or slightly off centre if the first row has an odd number of beads).
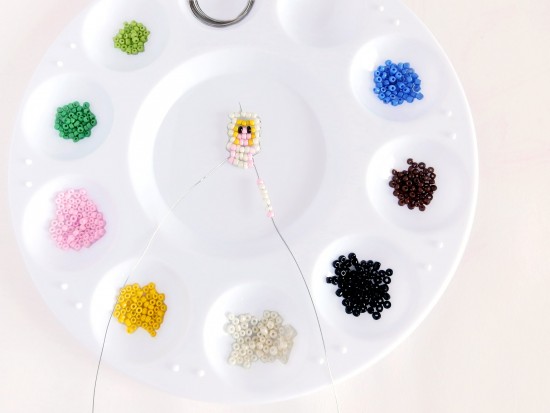
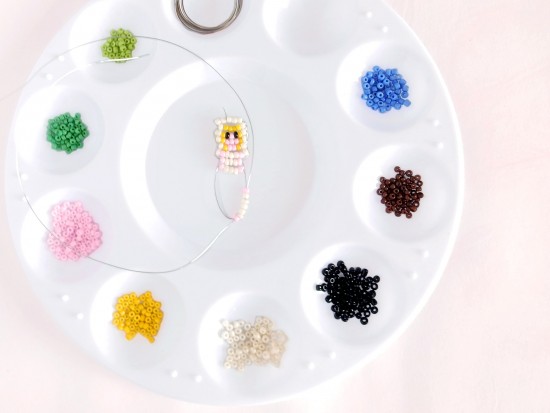
Step 2. Thread the beads for row 2 on the right hand wire, and thread the left wire through the row 2 beads in the opposite direction. Pull tight and bend both wires down so they are at 90 degree angles to the row you just completed. Continue threading each row of beads onto the right wire and threading the left wire through in the opposite direction until you complete the bride or reach row 9 on the groom or groomsman, or row 11 on the bridesmaid.
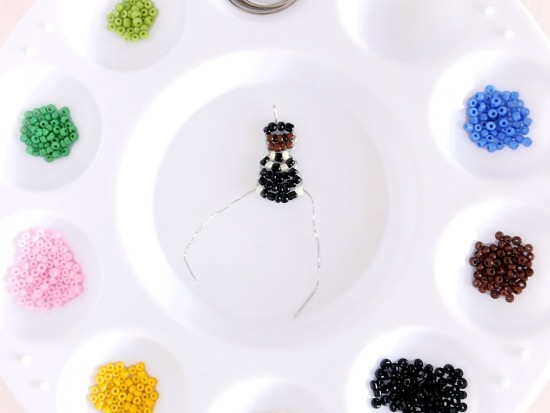
Step 3. To finish, ease each end of the wire back through the second last row. This can be difficult with such small beads, so it may help to wrap one of the wires around the side loop to thread through the next row up, or push any leftover loop close to the side of the charm. Trim excess wire as close to the beads as possible, trying to avoid leaving sharp edges.
Step 4. To create each leg for the groom, bridesmaid or groomsman, take one of the shorter pieces of wire and thread it through the second and third bead from one side of the last completed row until it is centred. Just like the body, thread each row of beads onto the right hand wire and pull the left wire through in the opposite direction until the design is completed.
Extra tips:
- When working a row with a larger number of beads than the previous row, the beads may form an arch. Just press the beads closer to the previous row and pull the wires tighter again.
- You may find the legs sticking out on an angle, so gently bend them straighter.
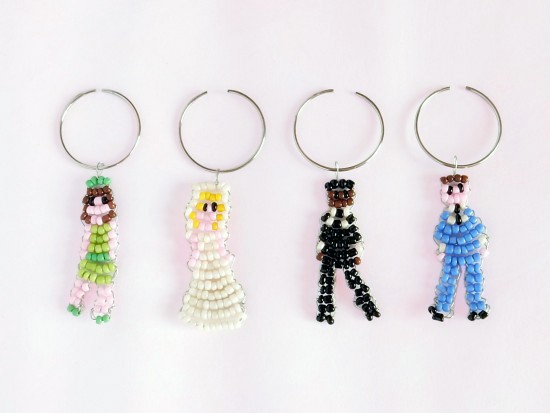
Make as many more charms as necessary, changing the bridesmaid’s dress colour or the groomsman’s suit colour to distinguish between them – you can customise the skin and hair colours to match too. Place each charm onto a charm ring, and all that’s left to do is decide who gets which charm!
![]()
Ms Chinoiserie Says: Such a fun idea to make at your kitchen tea; you could even theme the outfits to match your wedding colour scheme!


Join the conversation