

Macrame has been making a big comeback lately. It’s a little bit bohemian, a little bit whimsical and in my opinion, every bit chic. The best thing? It’s the most forgiving craft medium I’ve ever attempted. If you aren’t in the mood for exact measurements or don’t quite knot those pieces in the same spot? It doesn’t matter. I promise your creation will turn out looking perfectly imperfect and if anything, these discrepancies will add to the charm.
This tutorial outlines the steps to make a basic macrame plant holder, but with these skills there are no limits to what you can create. Once you understand the process of knotting, re-grouping and knotting again, experiment with different patterns, different sized yarn and different types of beads. These sweet little plant holders would be gorgeous bridesmaid gifts, or creating them could make for a super cute and crafty hen’s party activity.
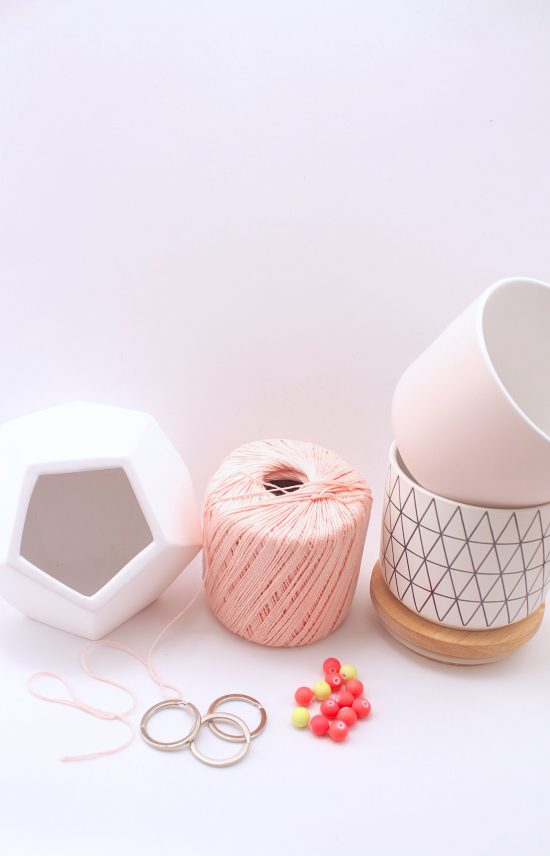
What you’ll need:
To create one macrame plant holder
One ball of crochet cotton in any colour
One keyring ring (or any type of ring, around the diameter of a 20 cent piece)
Scissors
Ruler or measuring tape
3M hook (or something to hang your macrame on while you are creating – an existing photo frame hook would work perfectly)
Assorted beads
A small pot (we found ours at Kmart)
Succulent or indoor plant
What to do:
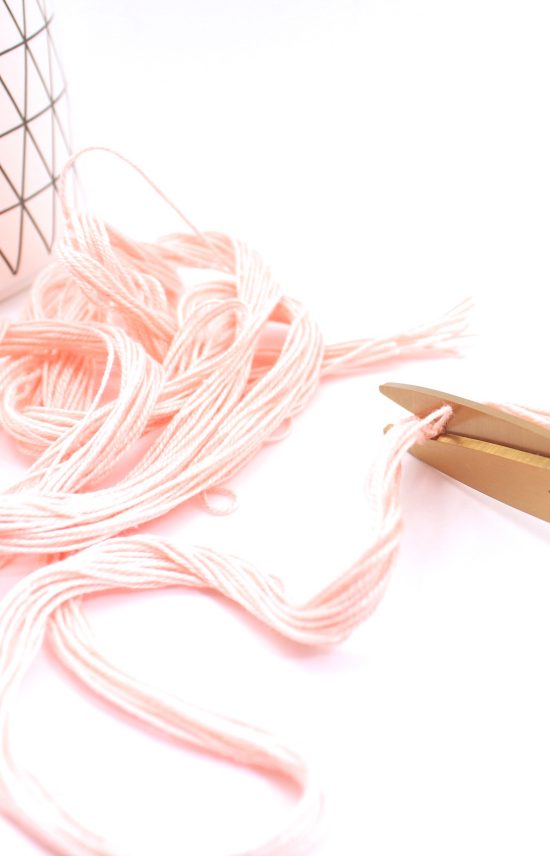
Step 1. Cut four x 1.5 metre strands of crochet cotton. Repeat three more times until you have 4 groups of 4 strands – all 1.5 metres in length.
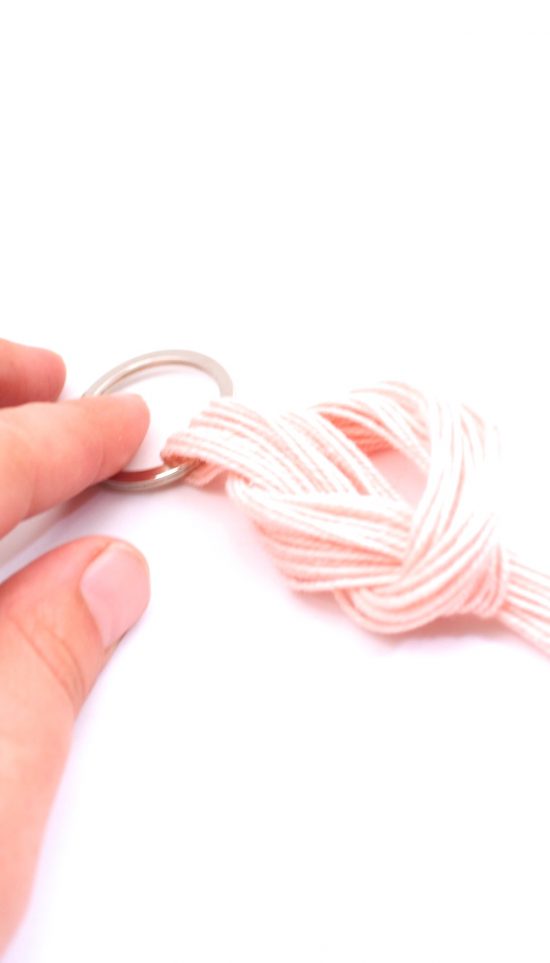
Step 2. Group all the strands together so they form one group of strands. Feed all strands through the ring until halfway through. Tie a knot approximately an inch from the ring.
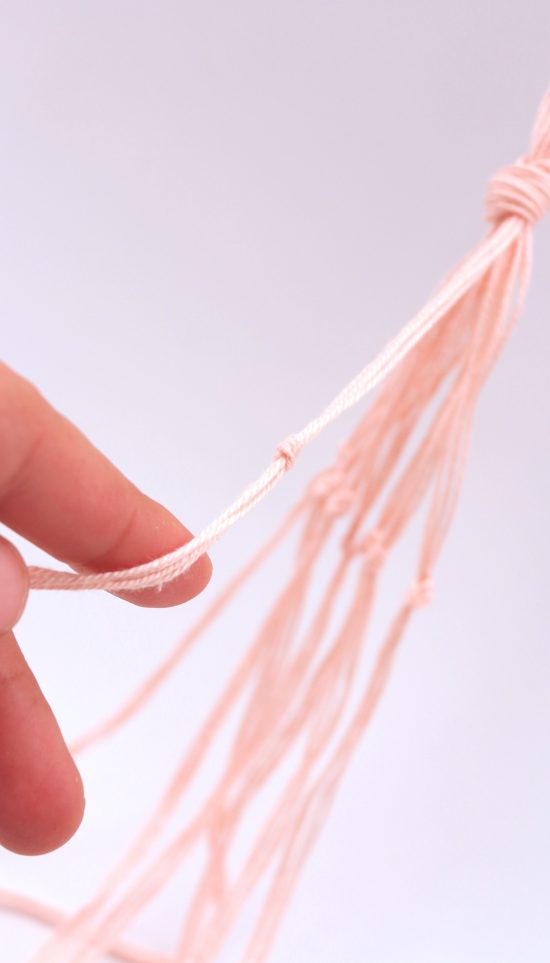
Step 3. Now, section out four strands from the main pack and tie a knot approximately 1.5 inches from knot.
Step 4. Repeat this until you have eight individual groups of four strands, each knotted.
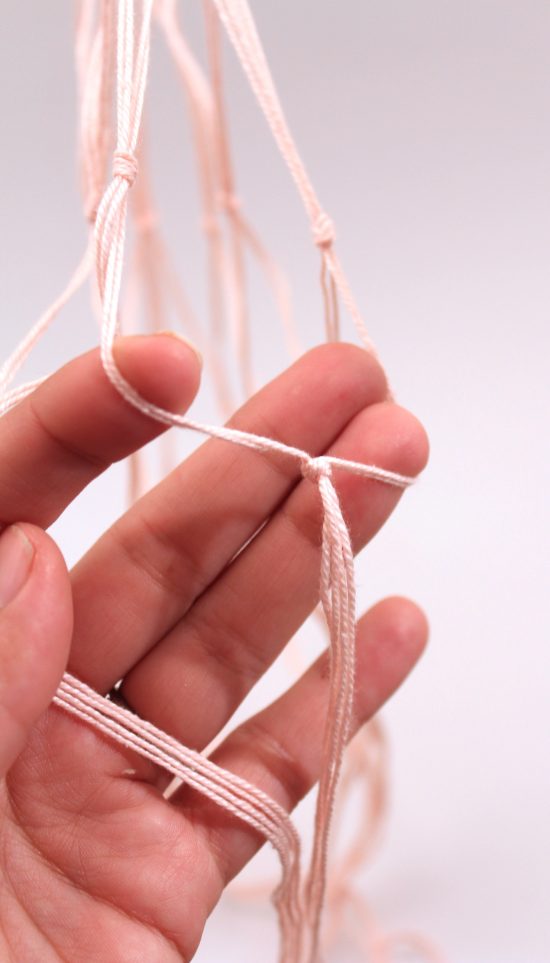
Step 5. Hold the first knotted group of four strands. Separate these four into two groups of two strands under the knot.
Step 6. Repeat Step 5 with the next group of four strands. You will now have four groups of two strands.
Step 7. Now, this is the only slightly complicated instruction. Once you understand this step, you will power through the remainder of the tutorial. Combine two strands from one group with two strands from the group next to it. Knot these strands together, approximately 1 inch down, to form a new group of four.
Step 8. Repeat Steps 5 – 7 until you have seven knots. There will be two separate groups of two strands at either end. Knot these strands together, approximately 1 inch down to form the final group of four.
Step 9. Repeat this process of separating groups of four, into two and then joining with a group of two next door. Knot approximately 1 inch down. Repeat until all new groups of four have been created.
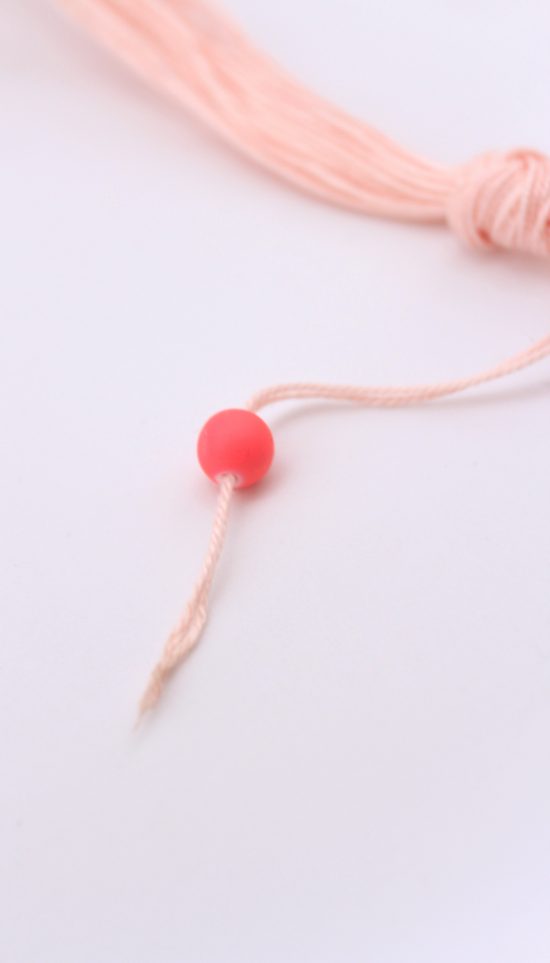
Step 10. Gather all strands together and tie a big knot approximately 2.5 inches from the last knot you have tied.
Step 11. Thread a selection of beads at varying heights to the strands hanging below. Secure each bead with a knot.
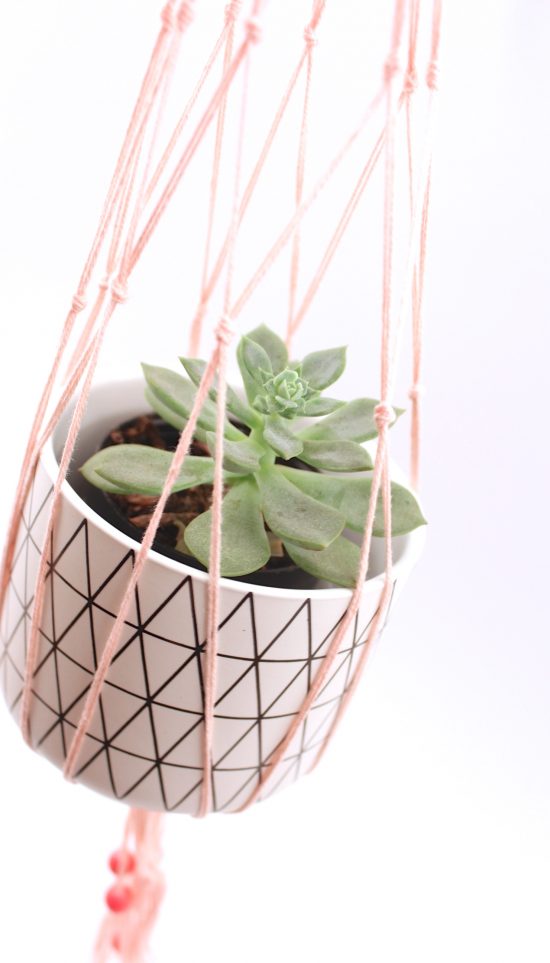
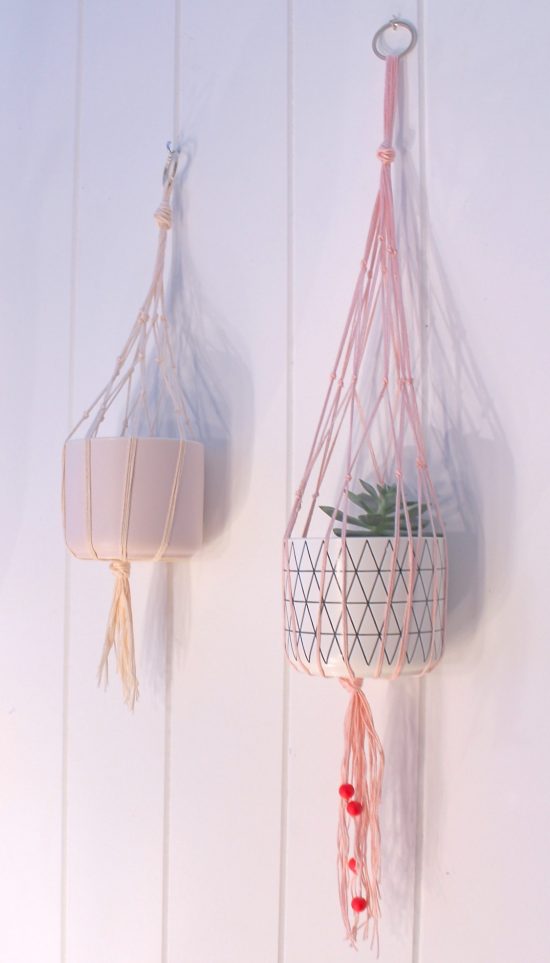
Step 12. Place the succulent or small indoor plant into your pot. Position the pot into the ‘net’ you have created, arranging the strands to sit as evenly as possible. Voila! A beautiful hanging piece to enjoy!
![]()
Ms Chinoiserie Says: Such an easy and pretty idea; perfect guest favours to match any wedding colour scheme!
About Jess Bauer: Hi, I’m Jess and I’m a writer. I am a lover of words and stories, pretty papers and flowers. I find great satisfaction in creating something beautiful from the simplest of materials and am happiest in a home bustling with conversation and music, sitting at a beautifully decorated table surrounded by good friends and delicious food – with a glass of champagne in hand, of course!


Join the conversation