

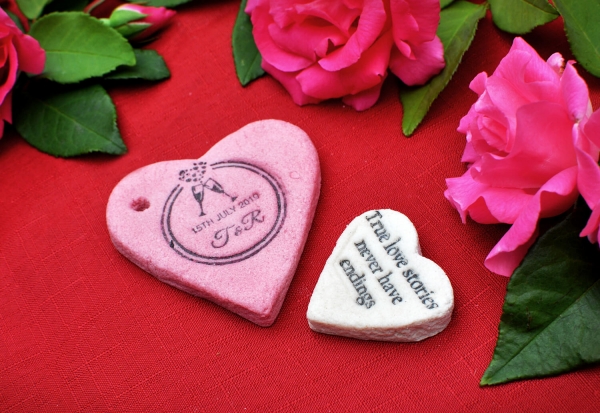
Delight your wedding guests with personalised, beautiful salt dough shapes!
These DIY salt dough wedding favours are unique and can be designed with your perfect big day in mind. Why not stamp letters and create unique place settings? Or these stunning wedding favours can even double as save the dates! They’re simple and quick to make, giving you that special touch to your wedding, without blowing the budget. In fact, for less than $100, you could make all your favours, name places or save the dates – an absolute bargain!
Here’s our step-by-step guide to make them:
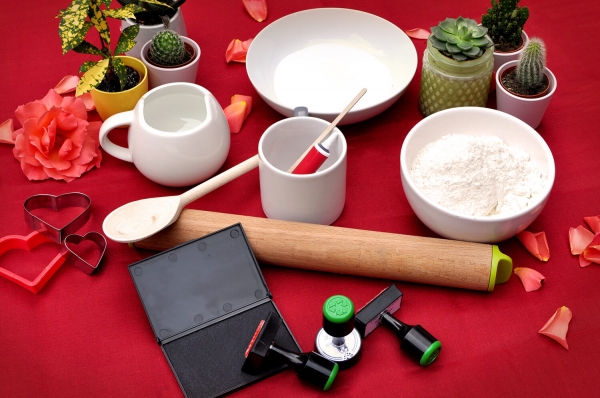
Ingredients for one batch of salt dough:
- 2 and ¼ cups of plain flour
- 1 cup of salt
- 1 cup of cool water
- Rubber stamp – with your personalised design
- Ink pad (unless you’re using a self-inking stamp)
- Rolling pin
- Large spoon
- Baking paper
- Cookie cutter – in your choice of shape
- A straw or chopstick
- Sand paper
- Optional extra decorations: food colouring, ribbon/string, glitter, varnish, paint etc.
Choosing a design
Pressing stamps into your dough means you get an immaculate, perfect emboss for your designs and helps to make the process really easy.
Customise your stamp to seamlessly fit with any wedding day theme.
- For ‘Save the date’ salt dough tags – design your own with the ceremony date.
- Achieve place settings using DIY stamp kits containing sets of letters, numbers and symbols, to write each guest’s name.
- Traditional rubber stamps come in a range of shapes and can be personalised with any image, wedding logo, save the date messages, or text such as, ‘The new Mr and Mrs…’.
Directions
1) Mixing
- Mix together the flour and salt.
- Add the water slowly.
- Stir until all the water is mixed in.
- (If the dough becomes too stiff to stir, just use your hands).
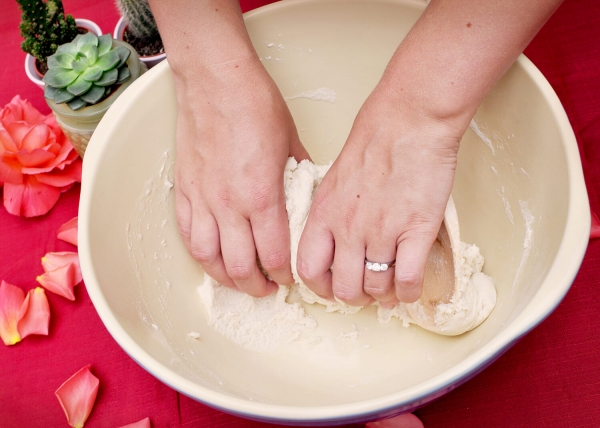
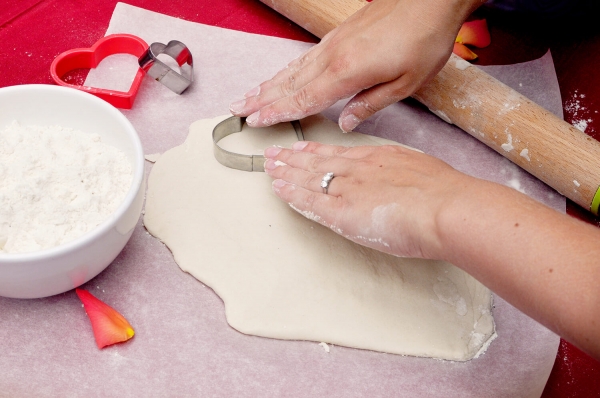
2) Rolling
- Knead the dough for a few minutes until it’s supple.
- For colourful creations, this is the time to knead in some food colouring.
- Roll the dough out onto baking paper until it’s about three-quarters of a centimetre in thickness.
- (They’re more likely to snap if they’re too thick!)
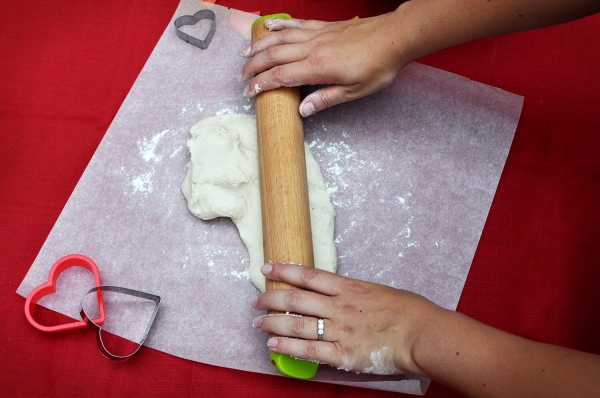
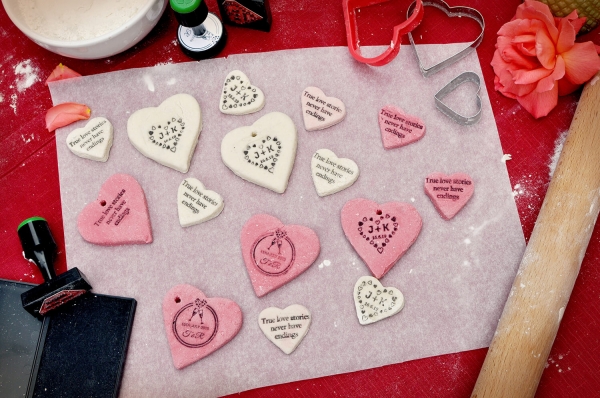
3) Cutting & stamping
- Press your cookie cutter into the dough to create your shapes.
- Ink your rubber stamp (if it’s not a self-inking stamp), and press your design onto each shape.
- Push a hole through the each with a round object, such as a straw or chopstick etc.
4) Baking
- Pre-heat your oven to 150℃ in an electric oven or 130℃ in a fan forced oven.
- Remove the excess dough, leaving your shapes on the baking paper.
- Put the baking paper onto a baking tray and into the oven.
- Bake the salt dough shapes for one hour or until they are hard.
5) Decorating
- When the shapes are cool, sand the edges.
- For extra decoration, you could varnish them for a shiny effect or add glitter and paint. Whatever fits your theme.
- Thread ribbon or string through the hole and tie into a bow.
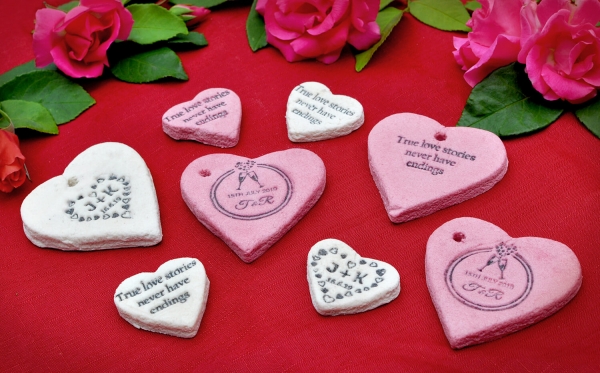
Your unique, striking salt dough shapes are ready to impress your guests … and they didn’t break the bank!
![]()
Ms Zebra: What an easy way to make favours for your guests! Love a personal touch to wedding favours!
About Custom Stamps Online: It was launched online in February 2001. We were one of the first comprehensive online Rubber Stamp suppliers in the UK. We quickly identified that a fast and efficient rubber stamp service is paramount, with this in mind we despatch orders placed online the same day, if ordered before midday


Join the conversation