

For all the plant lovers out there, this DIY succulent plant card tutorial is as easy as pie and BONUS, you will need to grab a few extra plants on your next trip to Bunnings! If you’re not only reasonably fond of a new plant or three and your friends fall in the same category, this is a sweet way to spread some propagation love, without doing any of the hard work yourself!
Because succulents grow so easily from cuttings and individual leaves, putting together a succulent gift card is a beautiful way to gift many plants, with some fun added in. Grab your favourite plants (or snap up a few extra), and prepare to make your plant loving pals very happy!
What You Will Need:
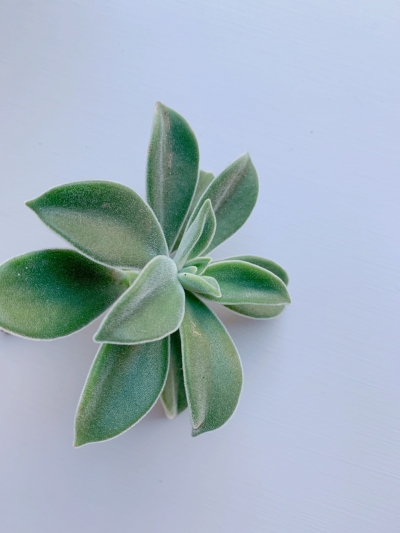
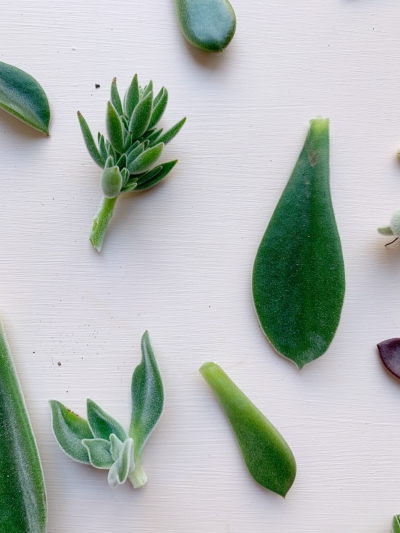
- A variety of succulent plants (you can also do this with only one variety!). If purchasing plants, look for healthy succulents with many offshoots and untarnished leaves. Some succulents do bruise to the touch, avoid these, and stick with classic varieties (any type of Echeveria is a good bet) to ensure the propagation is a success. You can also use leaves that have already started to shoot, this just needs a little more prep time.
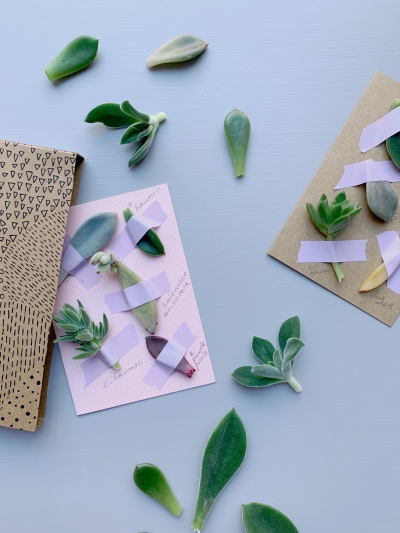
- Thick card. You can buy pre made card packs, or simply use sheets of card, depending on how you will style the finished product
- Paper bags or paper boxes for the succulent cards
- Washi tape
- Secateurs
- Pencil

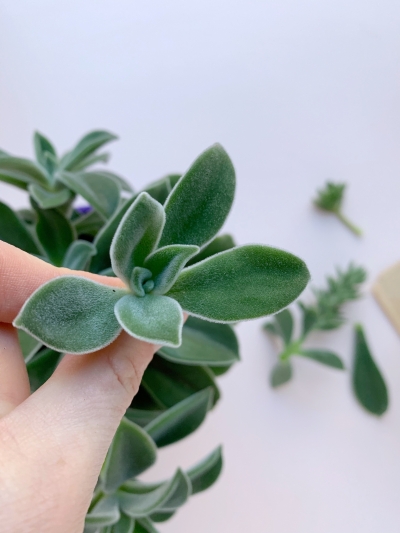
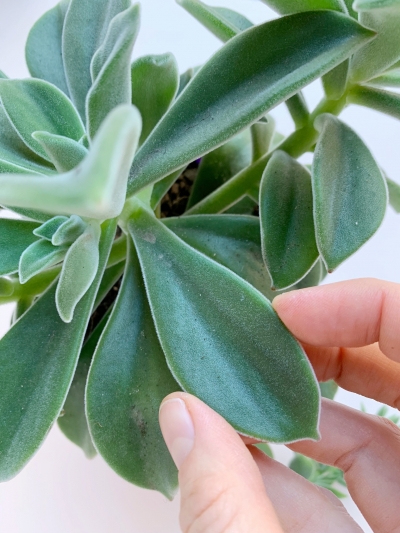
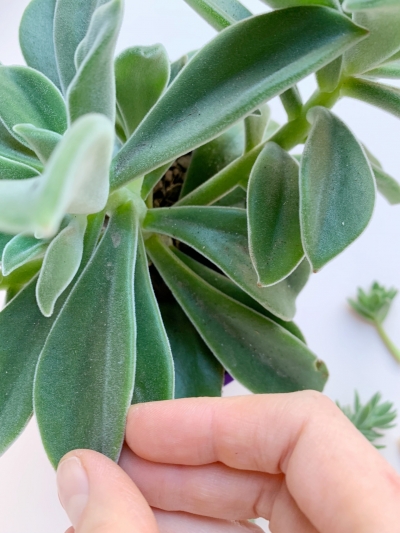
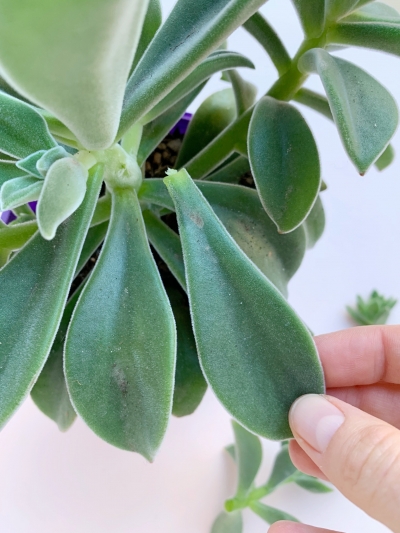
Step 1. Once you have selected your healthy plant, give it a once over for new pups (little plants growing off the main plant), and cleanly remove these with secateurs. Then, starting from the base of the plant, and selecting unblemished leaves only, carefully remove each one by slowly moving it side to side. This will help to avoid snapping the leaf off too far from the stem.
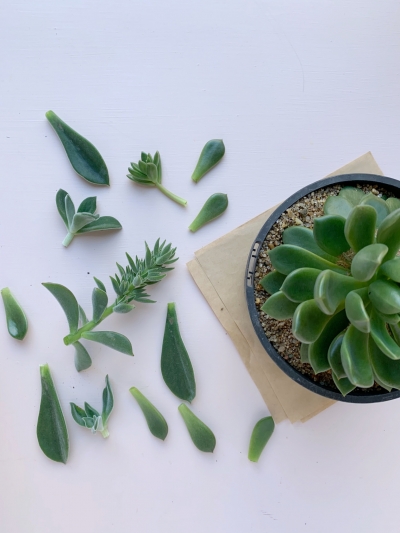
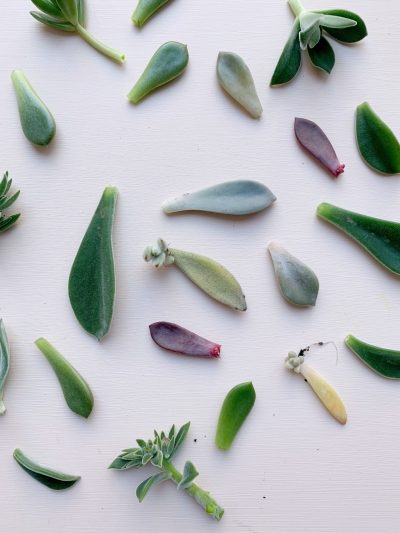
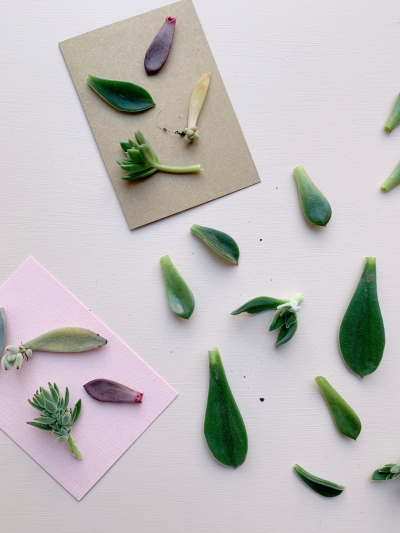
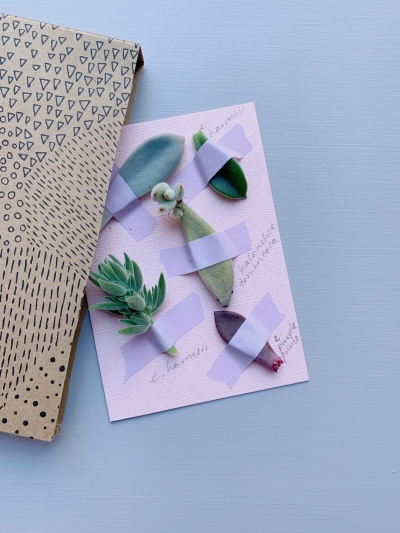
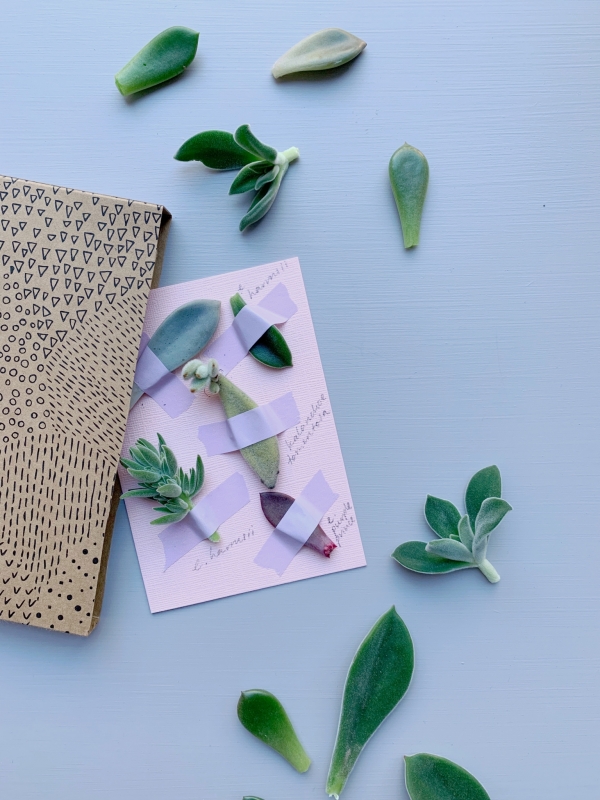
Step 2. Once you have removed enough leaves for the amount of cards you are creating, lay them all out to sort through the mix. If you’ve discovered any pups and are wanting to use these, carefully remove enough leaves from the stem so that there will be ‘sticking space’ for the tape. Begin to lay out the succulents on each card, and have a play with the design until you’re happy with how it looks.
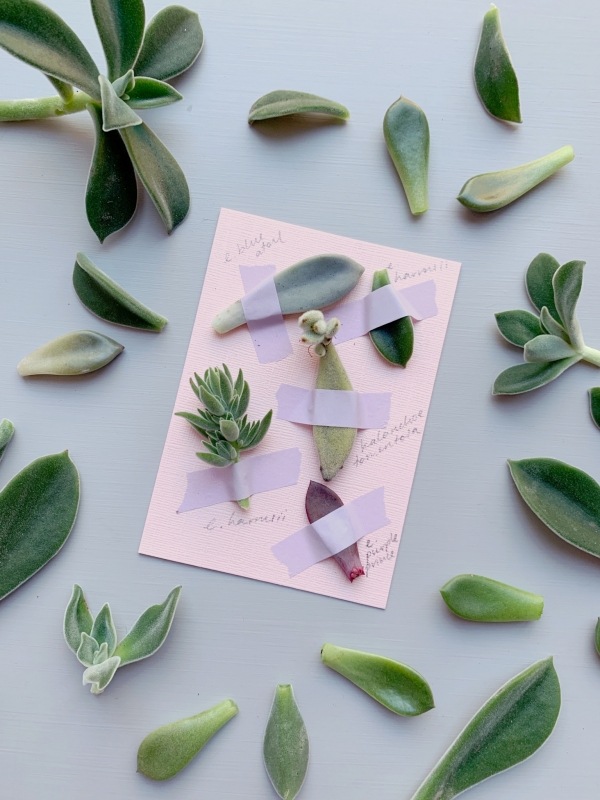
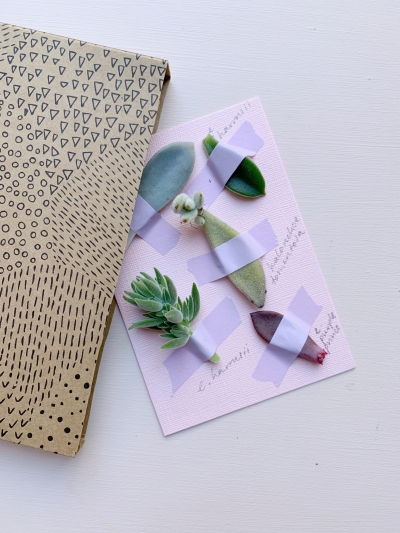
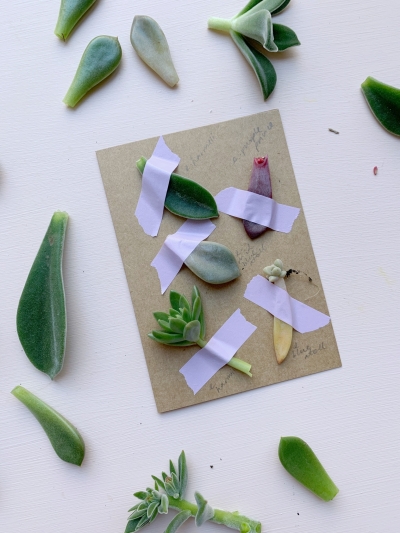
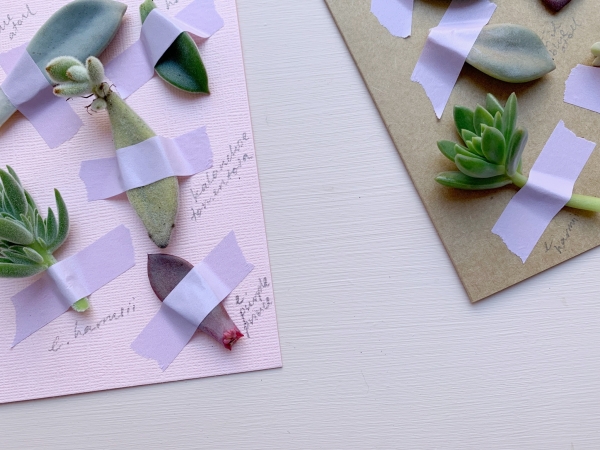
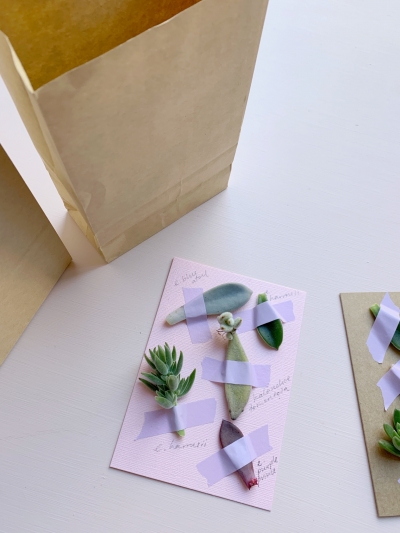
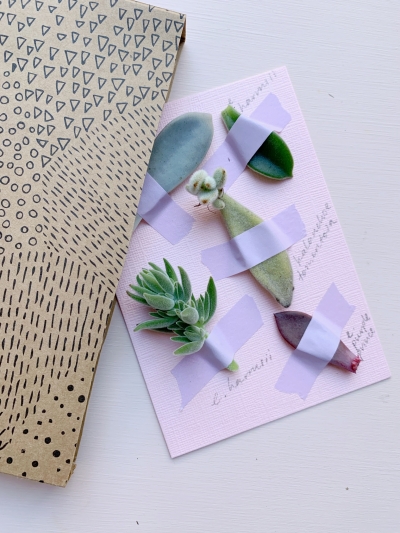
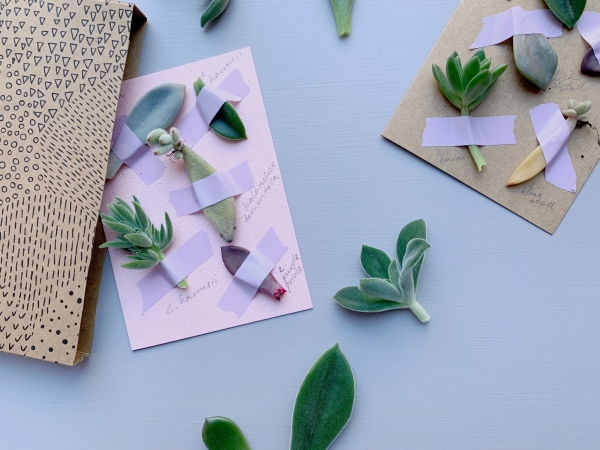
Step 3. Once you’ve found a layout that you love, begin writing in the botanical names of each succulent leaf. You’ll find these listed on the plant tag. If you’re stuck, most common varieties can be found online. Using the washi tape, carefully but firmly stick down each succulent leaf to the card.

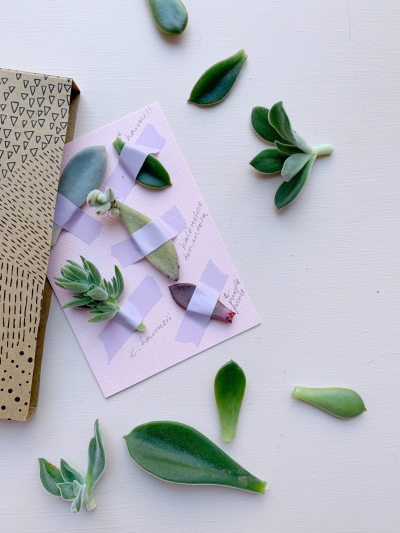
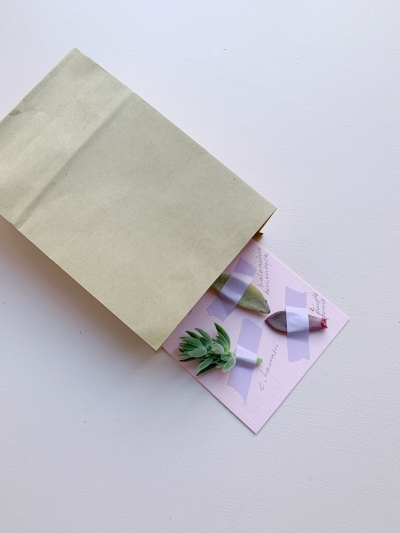
Step 4. If giving the succulent card as a gift, a normal envelope will squish your precious cuttings. Instead, use a small brown paper bag to pop the plants in. You can add a note, or other goodies in too, making it a plant lovers dream! You could also use a paper box, these can be found online and work beautifully as guest favours. Tie with twine and leave instructions if necessary.
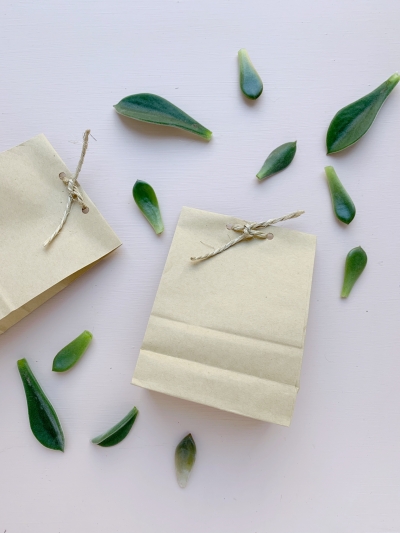
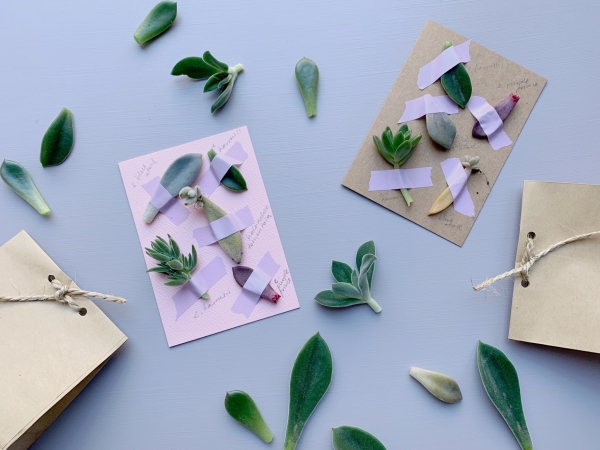
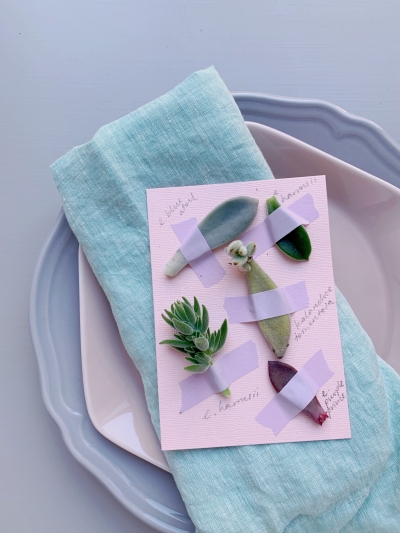
Succulent cards can be put together approximately 2-3 days before an event, longer if they’re able to catch some sun. As with any fresh product, the closer they are made to the date of the event, the better. Succulent cards also work beautifully on a table setting, or as a party favour for a kitchen tea!
![]()
Ms Zebra Says: With Spring around the corner, who wouldn’t love a little succulent to plant in the garden and remember the most fun of a wonderful wedding!? What a great idea Ms Honeycomb!!!
About Ms Honeycomb: My heart and home in Scotland and Australia, I am a florist, flower lover, writer, baker, stylist and sew-er of lovely things, with my darling toddler forever keeping me on my toes!


Join the conversation