A great way to make a statement and stand out from the rest of your wedding guests is to adorn yours and your new husband’s chair at your wedding reception with something fun. These cute and simple signs will add a touch of rustic elegance to your wedding decor also. And why stop at just chair bunting? You can make a ‘thank-you’ banner to hold in photos and use for your thank-you cards, or ‘just married’ bunting for your car or bunting banners to hang throughout your wedding.
You will need:
– hessian
– fabric paint (I chose white, but you could use any co-ordinating colour to go with your wedding theme)
– stencil brush
– alphabet stencil (I used a wool bale stencil as I’m an almost-farmers-wife! But alphabet stencils are available at craft stores)
– twine
– scissors or rotary cutter
– safety pin
– sewing machine
– iron
Step 1
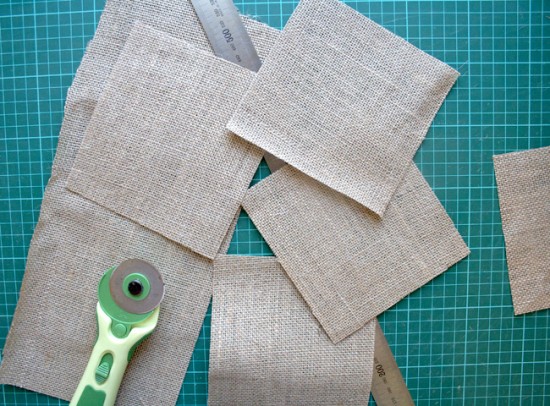
Iron your hessian out to make it nice and flat. Cut your hessian into rectangles, slightly longer on one side as we are going to fold over the tops, as you will see soon. I cut my rectangles approx. 13 x 16 cm, when I fold over the tops I will end up with 13 x 13 cm squares. You will need 5 rectangles. I cut mine with a rotary cutter to make it precise and the hessian won’t fray as much if the cuts are clean and neat.
Step 2
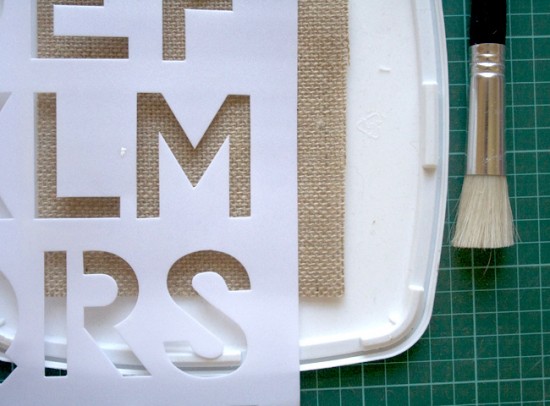
Now position the alphabet stencil roughly in the centre of the hessian rectangle. You might want to position it towards the bottom a bit more as the top will be folded over soon. We are going to make two M’s, two R’s and one S. As the hessian is quite loosely woven some of your paint will bleed through the fabric, so make sure the hessian is on a suitable surface. I put mine on a plastic lid rather than cardboard or newspaper which could stick to the hessian.
Step 3
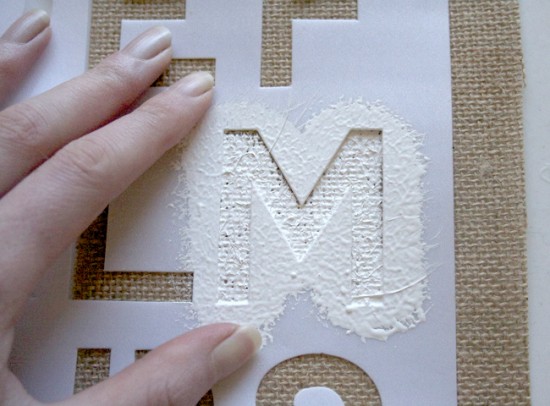
With your stencil brush loaded with your paint lightly ‘stab’ in a dabbing motion onto the hessian. When stencilling don’t use brush strokes like you are painting, just lightly stab, stab, stab until the letter shape is filled. Carefully peel away your stencil. Hopefully the paint hasn’t bled through and made your letter a little wonky! You want clean crisp edges. Let the hessian dry, still on the plastic lid.
Step 4
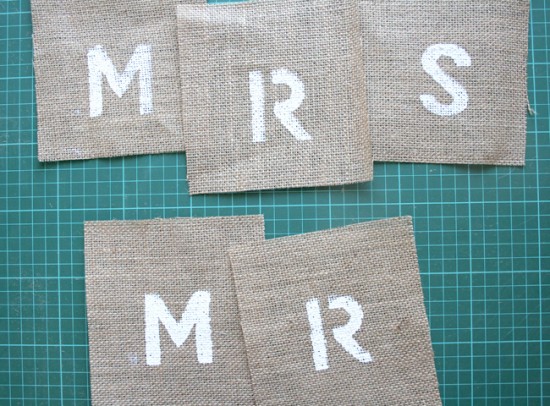
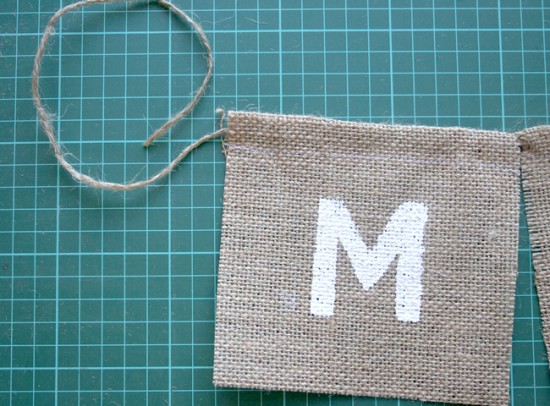
Repeat for all letters, careful to wash your stencil off back and front between letters as to not get paint on the hessian other than inside the letter shapes. You should end up with five hessian rectangles that look a little like this …
Step 5
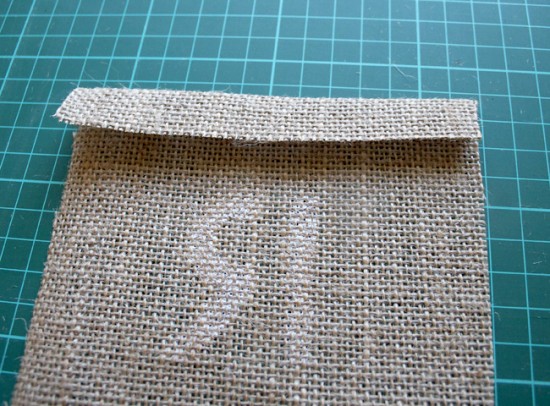
Now fold the tops over about 2cm and press down with your iron. This is to create a casing which your twine will go through. Your rectangles should now look like this …
Step 6
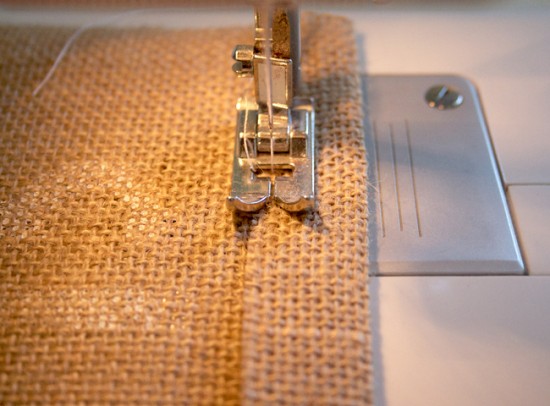
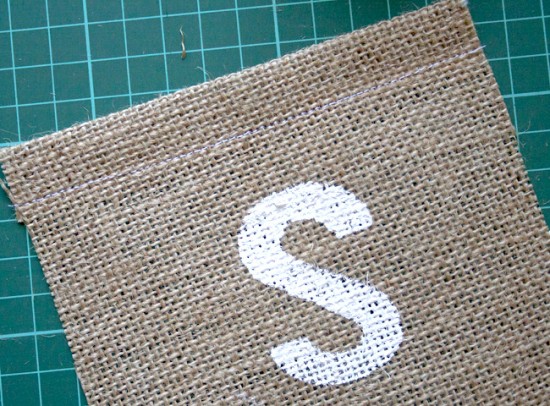
Head to your sewing machine and sew a basic stitch along the tops of your rectangles, sewing your casing shut. I used white thread and it was hardly noticeable, but you could use more hessian coloured thread if you wish. Do the same for all of your hessian rectangles.
Step 7
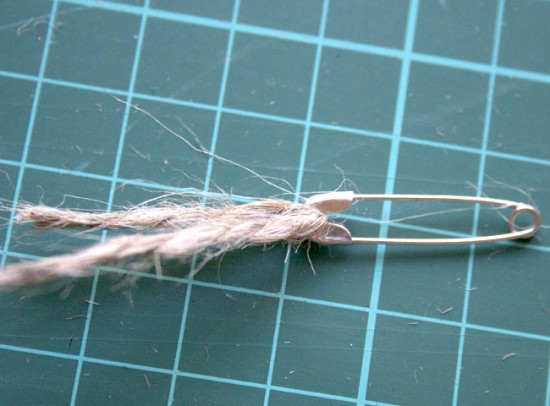
Cut a piece of twine roughly the length you need to attach to the back of your chairs, add a bit more just to be sure and to allow room to tie a knot to the chair. Unlike ribbon we can’t put our safety pin through the twine, instead clip it in to the handy top bit like this …
Step 8
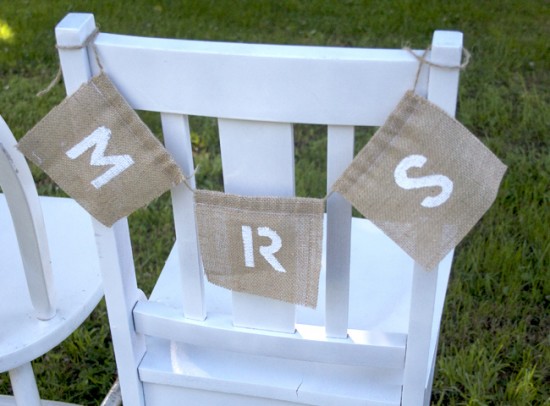
Now thread your rectangles onto the twine, slowly pushing the safety pin through the casing you just made and bringing the attached twine with it. This can be a bit tricky! Once you’re finished your ‘Mrs’ you can do your ‘Mr’ and should have two bunting banners ready to go!
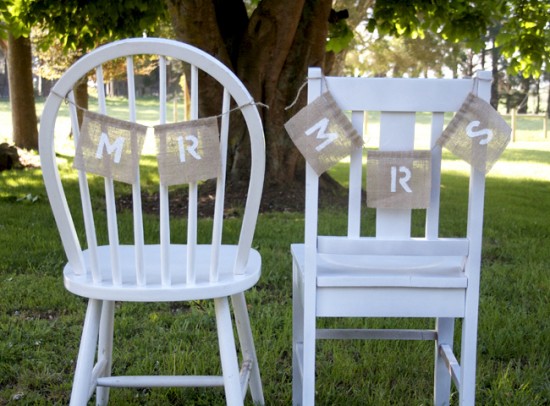
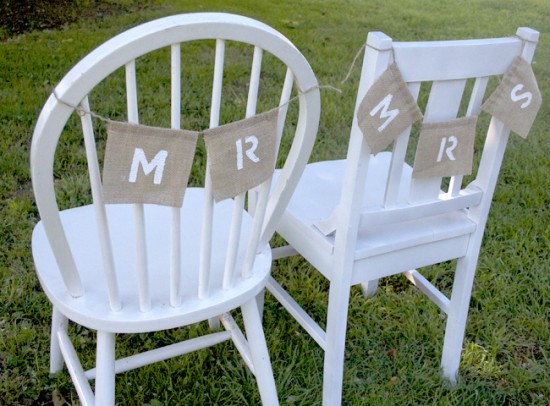
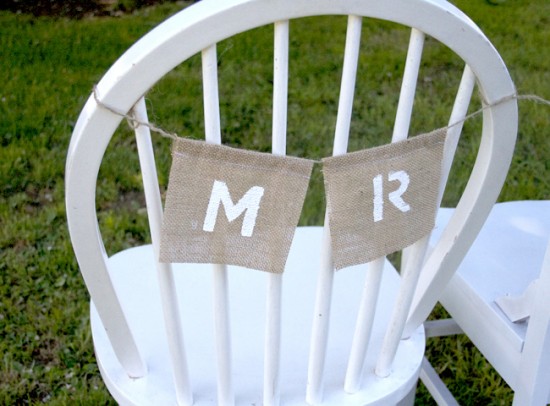
We are having a marquee wedding here on our farm – and I am madly collecting vintage chairs to use on our bridal table, so I have our chairs at the ready. Here they are with bunting attached …
You can make triangle bunting also if you want, or bunting with lots of different words, your wedding date – the possibilities are endless! Happy bunting. 🙂
Photos by Emma Durkin Photographics
Ms Gingham says: Now you could always do it like the Beckhams and just sit in ostentatious, tacky thrones but personally I like this idea much more. Thanks to our amazing bride-to-be Emma for this lovely tutorial.
Emma says: I am a 24 year old country girl who lives on a sheep and potato farm in the beautiful green Gippsland hills, Victoria. My hubby-to-be and I are high school sweethearts and are planning an early summer 2011 wedding on our farm, full of rustic elegant touches, hay bales, lace, kraft paper and logistical nightmares of having a marquee wedding in the middle of a paddock! I share all our adventures on my blog Cinderella at Brindabella.
Read more posts by Emma here.




Cute as!
HELP!!
where oh where do you buy that fine smooth clean looking hessian????
everything i have found, at Spotlight, upholstery suppliers (and even tried Bunnings) has been rough, loose and too too thick….
I have tried googling everything I can possibly think of to find the suppliers of this kind of hessian – who can tell me where to get it!????
they call it fin burlap or sultana burlap on US sites where you can order it cheaply but by the time you pay the shipping costs it is no longer a DIY option for my budget
Thank you in advance to anone who can point me in the right direction
Hi Fleur!
I’m not sure Emma will see this so I’ll pop in! Have you tried asking at Spotlight? They do have different “grades” and they should be able to order it in for you.
Otherwise, where are you located? perhaps we could try sourcing it at boutique fabric stores?
Thanks PDB
Hmm have not tried asking at Spotlight re different grade, good tip.
I have found one boutique fabric store online who does a linen burlap but it is $25pm, so makes the project very expensive!
Emma – which US site did youorder from and can you remember how much the shipping costs were?
I wish a local craft store/site would see the potential for a new product line here in OZ.. those burlap rolls on the US site are so super cheap…
Cheers girls
Hey Fleur (and Mrs Polka Dot),
I have bought hessian at Spotlight and craft stores which I found to be suitable, but for our wedding where we were using LOTS of hessian for lots of different bunting signs and table runners etc. I got a bolt of burlap from the US. My family are potato growers so I also got some from out bag suppliers, they generally deal in tens of tonnes of hessian (!!!!!) but I’m sure they might be able to help you with some off cuts – we use Polesy, ask for Justin. I hope this helps!
Emma
Write more, thats all I have to say. Literally, it seems as though you relied
on the vido to make yourr point. You definitelly know
what youre talking about, why waste your intelligence on just posting videos to your weblog when you could
bee giving us something informative to read?
Have a look at my web page; how much are the hcg drops