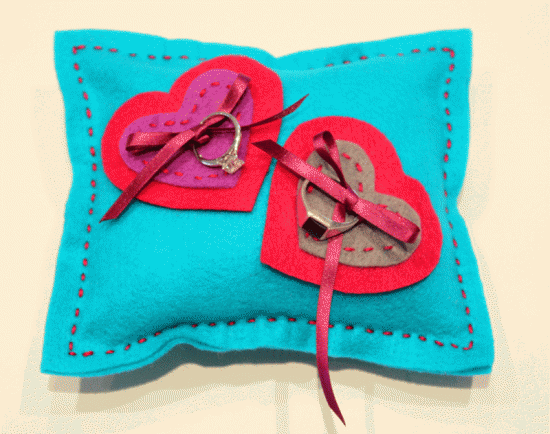
Ring cushions are a traditional addition to any wedding, after all if you’re trusting a small child to carry your wedding bands down the aisle you want some way to secure them! This is a super easy DIY touch to add something sweet and a little bit funky to your wedding. It took me about half an hour to make this one.
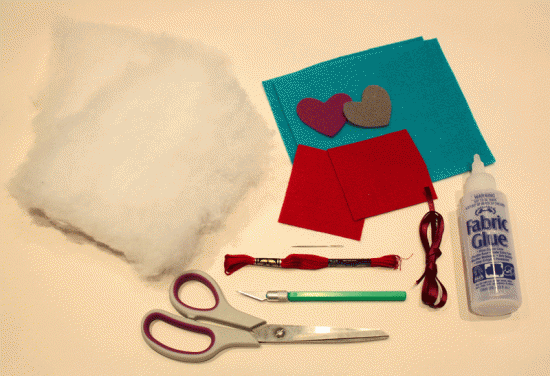
You will need:
- A good pair of fabric scissors
- Felt in the colours of your choice
- A craft knife
- Fabric glue
- Embroidery thread
- A large sewing needle
- Ribbon in the colour of your choice
- Stufffing
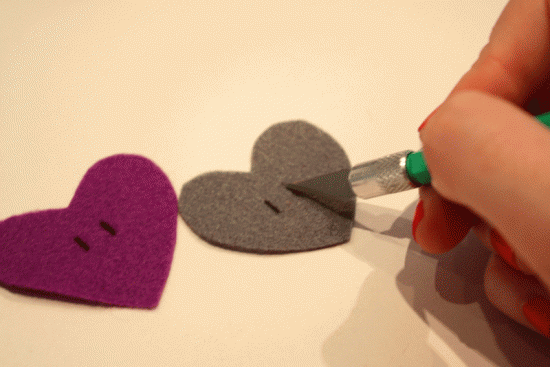
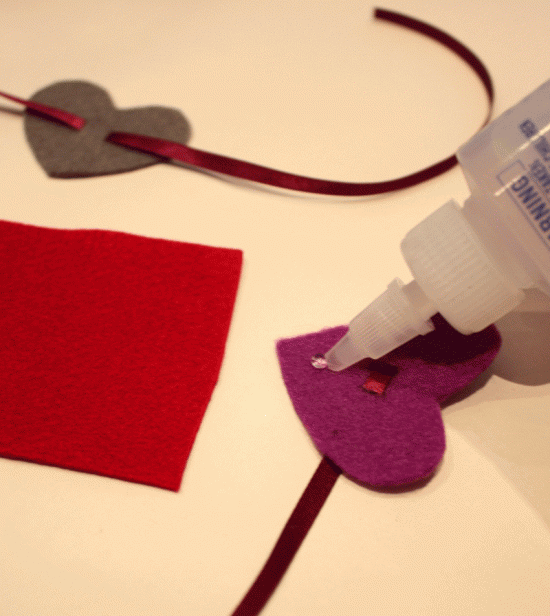
Start by cutting out two love heart shapes in the colour of your choice. These will be the smaller love hearts so keep that in mind when you are deciding how big you want them. Once you’re happy with the size and shape make two small marks on the back of each one that is about the thickness of your ribbon. Carefully cut the slots with your craft knife.
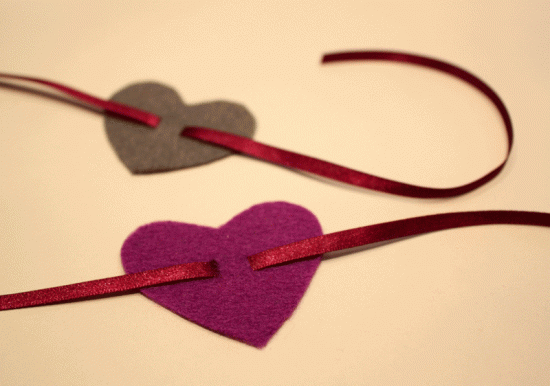
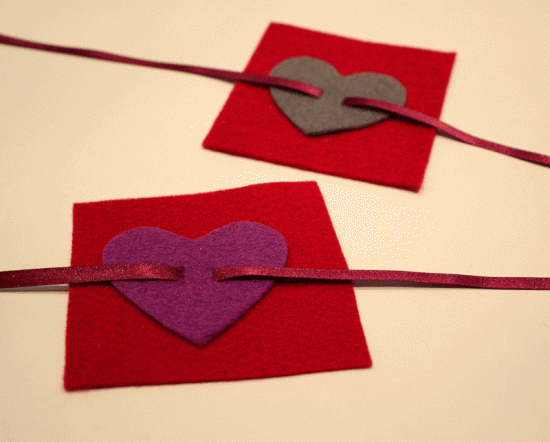
Thread your ribbon through the slots you have cut and make sure that both lengths are even. If there are messy edges or felt fluff on the front of the slots you can carefully poke it through to the back with the tip of your craft knife. Trim the ends of the ribbon; with a polyester ribbon you can use a heat source (such as a lighter) to melt the ends and prevent fraying.
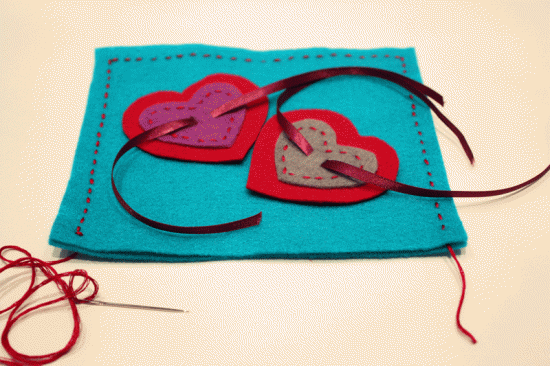
Apply a few dabs of fabric glue to the back of the hearts. This is mainly to hold them in place while you are sewing so you don’t need much. Be sure to avoid the ribbon slots so that no glue seeps through to the ‘good’ side. Glue them on to a piece of felt that is larger than the heart and trim this piece to create the outer heart.
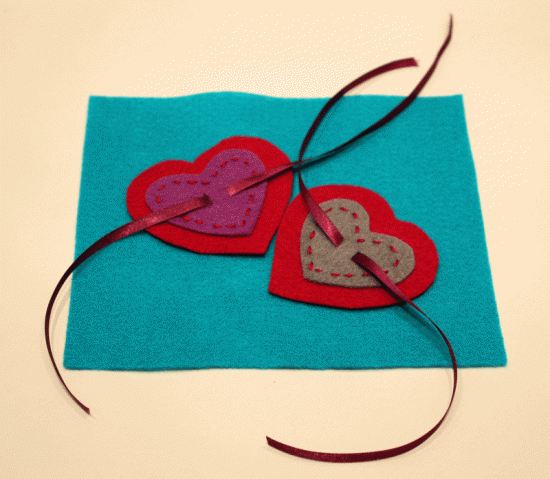
Another few dabs of glue will secure the hearts to the top piece of your cushion. Trim this piece to your desired size keeping in mind that you don’t want the hearts to be too close to the edges or they will distort when you stuff your cushion. With the embroidery thread use a simple or basting stitch to sew around the edge of the inner heart making sure not to accidentally catch the ribbon in your stitches.
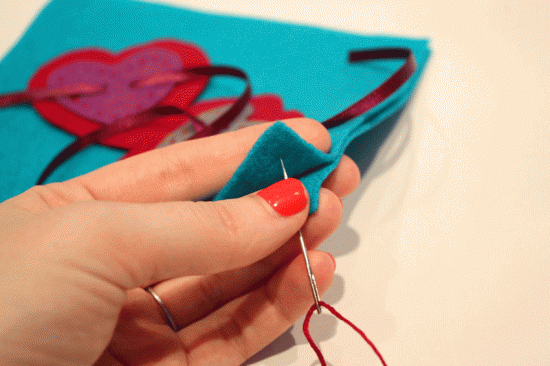
Use a simple or basting stitch to sew three edges of the front piece to the back piece with embroidery thread in a complimentary or contrasting colour- after all this is one of the cute features! Remember to keep a minimum 1cm boarder around the outside of your fabric. When you begin, start your first stitch from between the layers of felt, this makes it easy to hide the knot when you tie off at the end. Make sure you have enough thread to make it all the way around in one go.
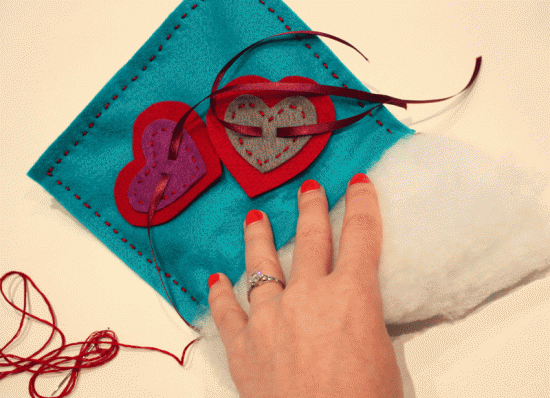
Insert the stuffing carefully so that you don’t open up all your stitching. Once you are happy with the size of the cushion check your stitching to ensure that it is still tight.
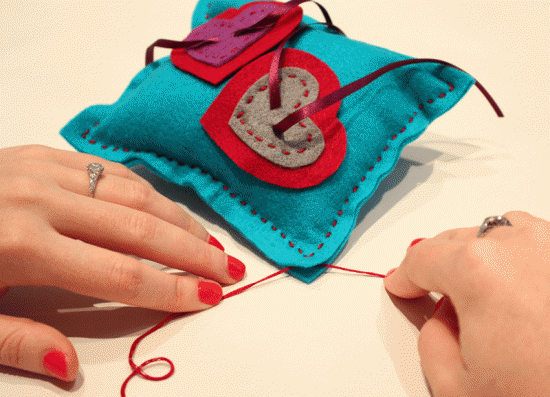
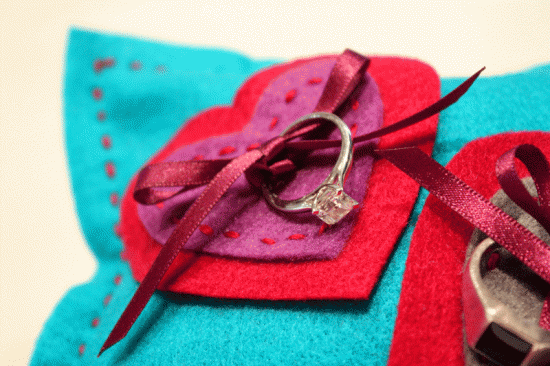
Sew the remaining side. Take your last stitch back between the layers so that you can tie off neatly and hide the knot. Trim off remaining threads. You can play with the shape of your cushion by squeezing the sides and pushing on the middle until it is sitting how you want it. Now all you have to do it tie those rings on with a nice neat bow!
Photography by Nat of Dear Little House
Ms Gingham says: What a sweet project. A beautiful way to add a DIY touch into your wedding. We’re looking forward to more projects by Nat on Polka Dot Made so stay tuned!
About Nat: Nat is a true collector. It is a habit, a joy and a necessity, and- perhaps most importantly- a magnificent pass time. Over the years she has developed her eclectic, quirky style and honed her shopping (scavenging, rescuing, re-inventing) down to a fine art. The world of vintage treasures and forgotten, abused pieces of history provides enough intrigue and mystery to keep her travelling on this never-ending search for little pieces of lovely.




Join the conversation