

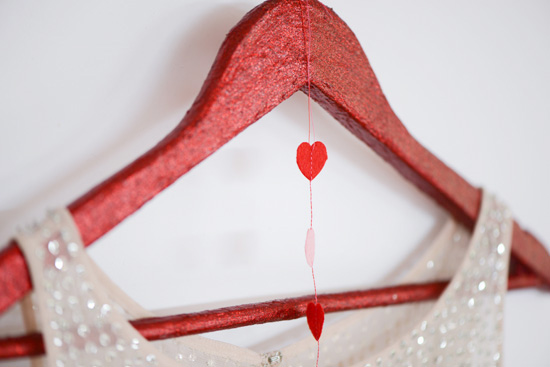
With my adoration of all things glittery I decided to create a glittery hanger project. Something that you might gift your maids or do yourself in place of the plastic or wire options when hanging your beautiful gowns on the wedding day. The best part is? It’s as easy as pie and you’ll have a sparkly addition to your day in no time!
My glitter method has always been to ensure that no glitter falls off or catches, particularly important with wedding and special occasion gowns!
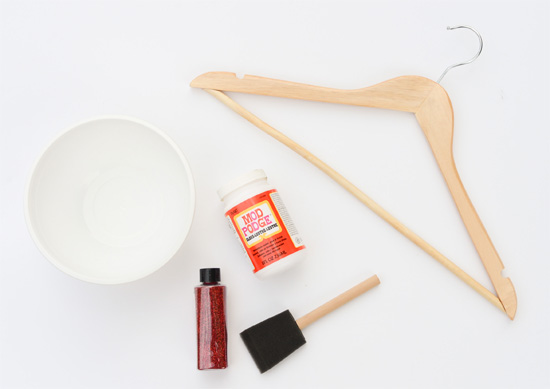
What You’ll Need:
ModPodge
A brush or sponge brush
Glitter in your choice (I tend to like fine for glitter projects like this, but it depends on the look you’re wanting)
A wooden hanger (found at Bunnings)
An old bowl for stirring
Sandpaper (if your hanger is varnished or coated in any way).
Method:
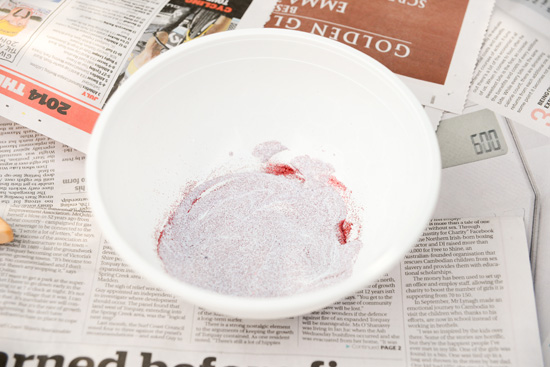
Combine a few tablespoons of ModPodge in a plastic bowl with a few tablespoons of glitter. The more glitter you put in the better. It won’t look very pretty, but should become a runny paste consistency after stirring.
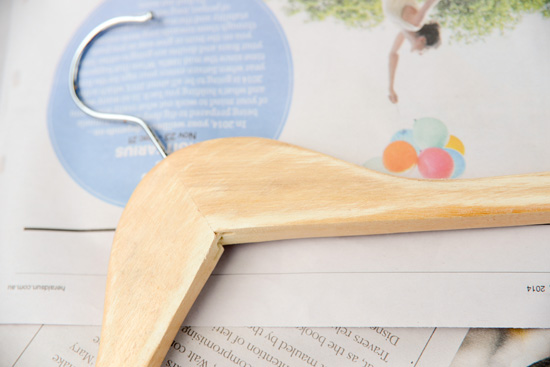
Sand back the varnish on your coat hanger with fine grit sandpaper so your mixture has something to stick to.
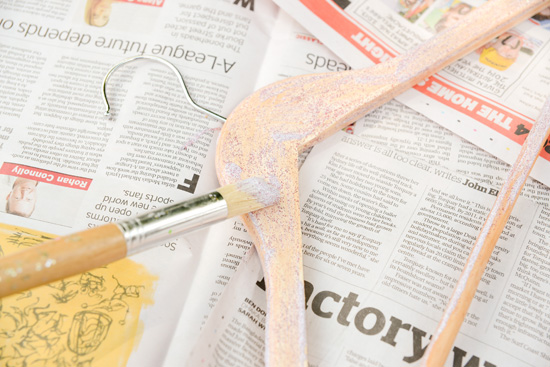
Start applying your mixture to the hanger. Start with thin coats and let it dry in between.
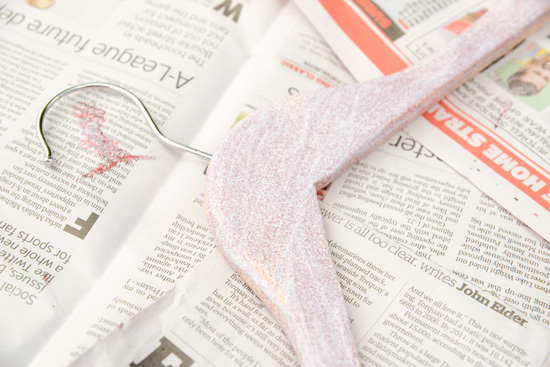
Keep building up your coats until it becomes something like this. As the Mod Podge dries, you’ll be able to see any “gaps” which you can touch up. (The glitter will show as the ModPodge dries to a clear base).
Check for any rough bits which you can sand lightly, and re-apply the glitter until you are satisfied with the finish.
Add a final layer of Mod Podge (without the glitter) to seal.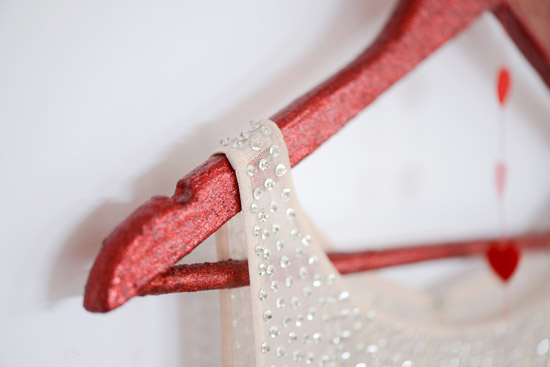
Images by Polka Dot Bride
![]()


Join the conversation