

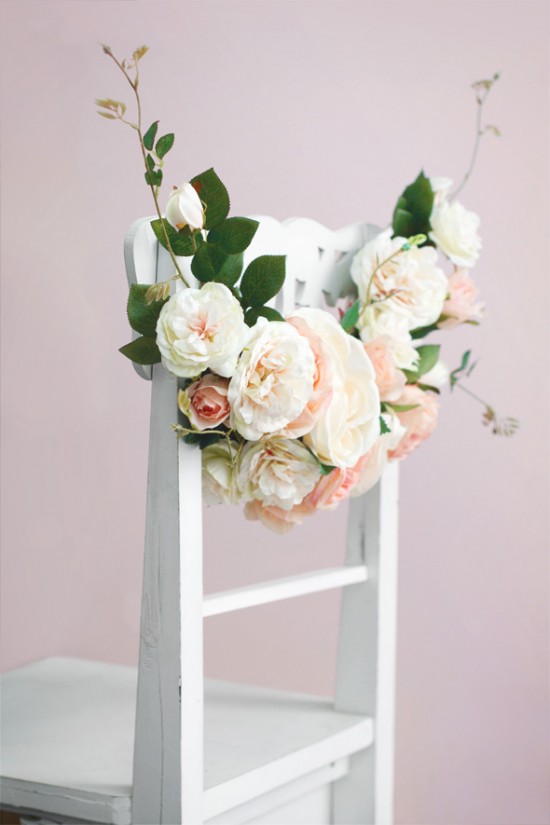
If you fancy the idea of doing something a little different with your wedding chairs, this romantic DIY floral garland chair might be just the ticket. Whether you’re looking to use it as a focal point at your reception, or simply as a complimentary addition to your wedding decor, floral garland chairs are fun to make, and can be very easily customised.
For this particular chair we used a mix of silk Queen Victoria roses, cabbage roses, and peony rose sprays – the key is to use big blowsy, full blown flowers, mixed with small buds. We’ve stuck to a delicate colour scheme of peach and champagne, but feel free to experiment with any mixture of artificial or fresh flowers.
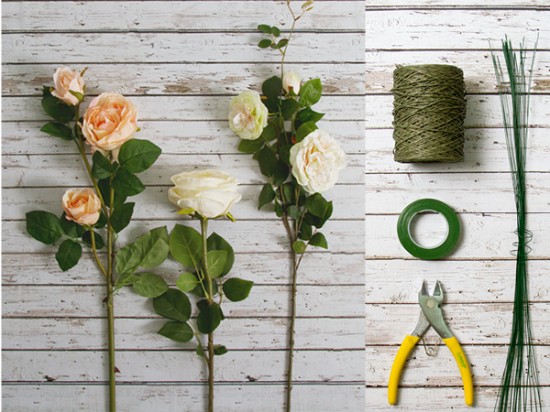
What we used:
- Queen Victoria Rose
- Sally Cabbage Rose
- Christina Peony Rose Spray
- Princess Diana Rose
- Wire Cutters – 6” heavy duty wire cutters work best.
- Florist Stem Wrap (Parafilm)
- Wire – the lower the gauge number the thicker the wire. We used 18 gauge but 20 would also work, as both are good for supporting flowers with large heads, such as the cabbage rose.
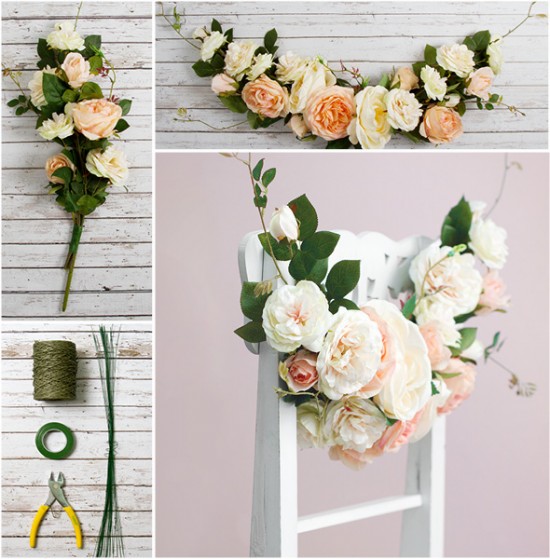
1. Start by laying out your equipment and choosing your best flowers – to build this garland we used two Sally Cabbage roses, two Queen Victoria roses with buds, four Christina Peony roses, and a single Princess Diana stem.
2. Cut the bottom off the two silk cabbage roses, so that they measure approximately 20 centimetres in length. They will form the “frame” that we build the garland on, by allowing us to wrap other roses along its length. At the end of the project you’ll join these two 20 centimetre pieces together to create the final product.
3. Make a small loop of twenty gauge wire wrapped with Parafilm and attach it to the flower head end of each of your Cabbage Roses. Later you’ll be able to hang the garland to the chair with these loops.
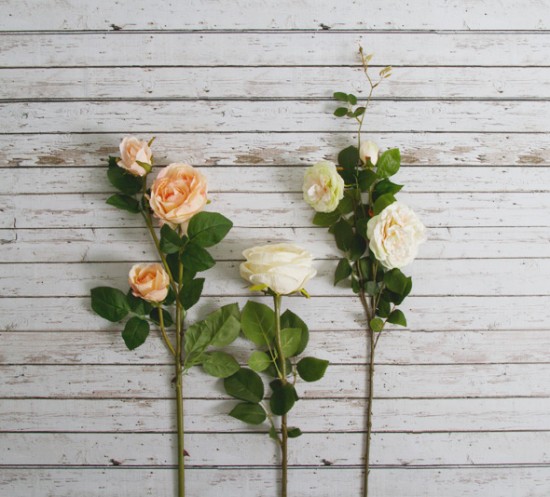
4. Cut the buds and flowers off all the flower stems – again aim for roughly 20 centimetres to give you ample stem to work with.
5. Then attach a Christina Rose bud to the flower head end of one of your cabbage rose frame stems. Use about five centimetres of the stem to ensure it’s attached securely, leaving about 15 centimetres overhanging. Try to make sure you’re helping to hide the loops when you do this! The pretty tendrils should be curling upwards, helping to create a lovely semicircle effect.
6. Repeat this on the flower head end of your other frame stem.
7. Now start to build the body of the garland, alternating large flower heads with buds. We used a mixture of small roses and buds towards the loop end, and then added more open roses as we reached what will become the centre of the garland. Your largest roses will form the lush centre of the garland. Try to nestle each one in so they sit snugly.

8. Build the other side in the same way.
9. The next step is to put the two frame pieces together – and adjust. This may take a bit of gentle coaxing. The frame ends should overlap, and intertwine – we used extra florists wire attached to either end of the frame stems to make this easier. You might also want to use wire or even pot tape to help secure the join here.
There you go! P.S, this garland also works beautifully as a wall hanging or on a mantle.
Images and tutorial by Koch & Co
![]()
Ms Gingham says: There’s nothing more romantic than floral garlands at weddings. I love this!
Hi, I’m Aimy Chen, and I’m part of the creative team at Koch & Co, a gift, décor, wedding and florist supplies superstore. Our team loves sourcing beautifully designed pieces that makes creating your floral, wedding and event decoration easy, fun, and super affordable.


Join the conversation