

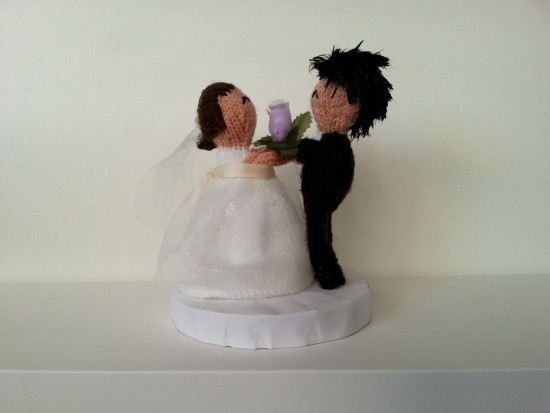
These knitted bride and groom figures would add a cute handmade touch to a wedding on top of your cake and can be easily personalised to look like the happy couple!

You will need:
- Small knitting needles (I used 2 ¼ mm)
- Small amounts of yarn in white, black, and colours matching the skin and hair colours of the bride and groom
- Stitch holder
- Wool needle
- Small amount of stuffing
- Embellishments like tulle, small fabric flowers, ribbon, lace
- Sewing needle and thread
- Black embroidery thread
- Paintbrush
- Fabric stiffener or varnish
- Craft glue
- A base (I used the lid of a gift box 10.5 cm in diameter)
Both figures are knitted in stocking stitch (alternating knit and purl rows).
BRIDE
Head/body
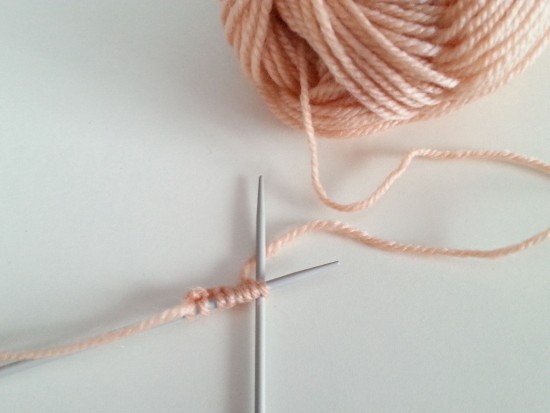
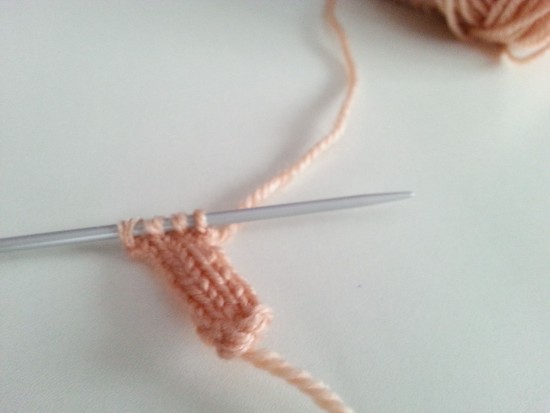
With the skin coloured yarn, cast on eight stitches, leaving a tail for sewing.
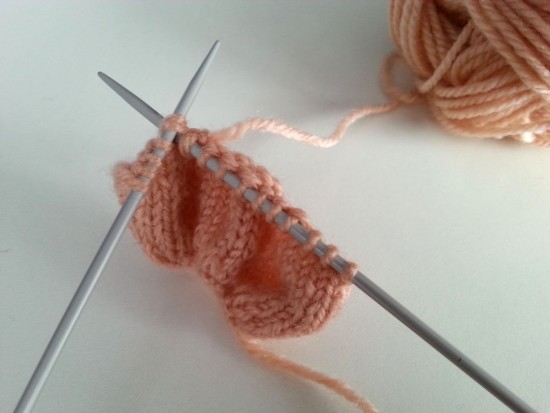
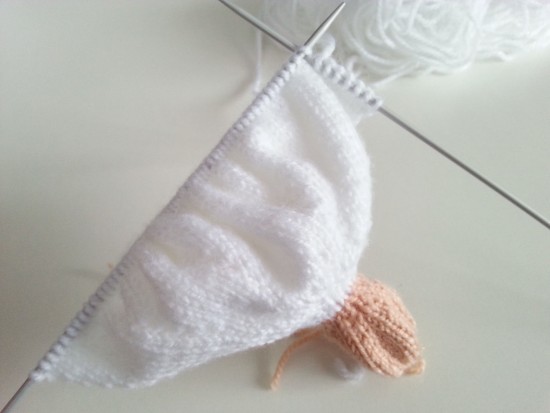
Increase in each stitch knitwise to end. (16 stitches)
Repeat the last row (32 stitches). These increases can be a little fiddly, so work carefully!
Beginning with a purl row, work in stocking stitch for seven rows.
Begin neck shaping: (knit 2 together, knit 4) repeat 4 times, knit 2 together. (26 stitches) Purl one row.
(Knit 2 together, knit 3) twice, knit 2 together, knit 2, (knit together, knit 3) twice, knit 2 together. (20 stitches) Purl one row.
(Knit 2 together, knit 2) twice, knit 2 together, (knit 2 together, knit 2) twice, knit 2 together. (14 stitches)
Purl 2 together, purl 3, (purl 2 together) twice), purl 3, purl 2 together. (10 stitches)
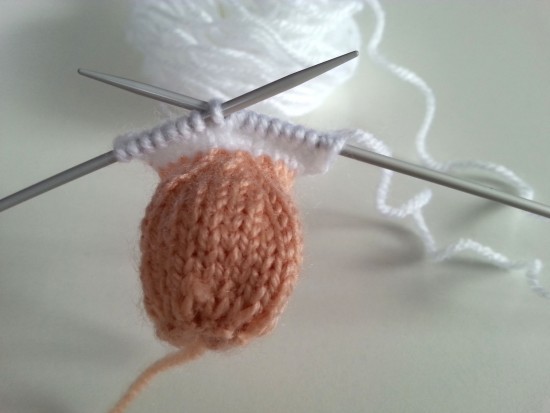
Change to the white yarn and work two rows of stocking stitch, starting with a knit row.
Begin shoulder shaping: (increase knitwise, knit 2) repeat twice, increase. (14 stitches) Purl one row.
Knit 3, (increase knitwise, knit 2, increase) twice, knit 3. (18 stitches) Purl one row.
Knit 4, (increase knitwise, knit 2) repeat twice, increase, knit 4. (22 stitches) Purl one row.
Knit 7, (increase knitwise, knit 2, increase) twice, knit 7. (26 stitches) Purl one row.
Knit 8, (increase knitwise, knit 2) repeat twice, increase, knit 8. (30 stitches) Purl one row.
Work two rows of stocking stitch, beginning with a knit row.
Begin skirt shaping: (increase knitwise, knit 4) twice, increase, knit 8, increase, (knit 4, increase) twice. (36 stitches) Purl one row.
(Increase knitwise, knit 5) twice, increase, knit 10, increase, (knit 5, increase) twice. (42 stitches) Purl one row.
(Increase knitwise, knit 6) twice, increase, knit 12, increase, (knit 6, increase) twice. (48 stitches) Purl one row.
(Increase knitwise, knit 7) twice, increase, knit 14, increase, (knit 7, increase) twice. (54 stitches) Purl one row.
(Increase knitwise, knit 8) twice, increase, knit 16, increase, (knit 8, increase) twice. (60 stitches) Purl one row.
(Increase knitwise, knit 9) twice, increase, knit 18, increase, (knit 9, increase) twice. (66 stitches) Purl one row.
Starting with a knit row, work 12 rows of stocking stitch. Cast off.
Arms (makes 2)
With the skin coloured yarn, cast on 4 stitches. Beginning with a knit row, work 12 rows stocking stitch. Cast off, leaving a tail for sewing.

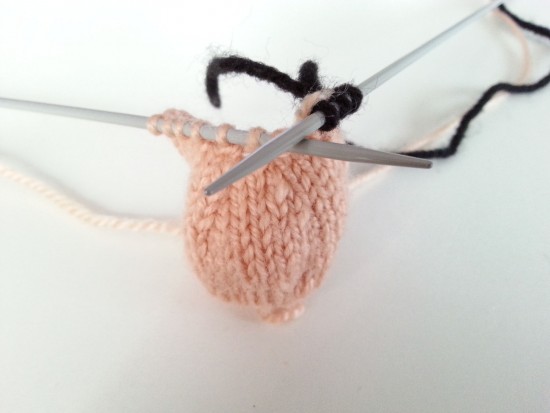
To make up: using the wool needle and starting at the top of the head, weave the tail through the cast on stitches to gather them. Don’t worry if there’s still a small gap, it will be covered by the hair shortly. Sew down the back of the head, fastening off at the neck. Fill the head with stuffing until it’s lightly firm, using the handle of a paintbrush if necessary.
Cut a length of white yarn and use it to sew from the neck down the back of the dress, weaving in the ends once sewing is completed.
To fill the body, work out how much stuffing it will take to fill from the neck to the first few rows of skirt shaping. Lightly coat the inside with craft glue and press the stuffing onto the glue.
Sew arms to body at the shoulders.
GROOM
Head/body
Follow the instructions for the bride up to the beginning of skirt shaping, changing to black yarn instead of white at the neck.
Beginning with a knit row, work 6 rows of stocking stitch.
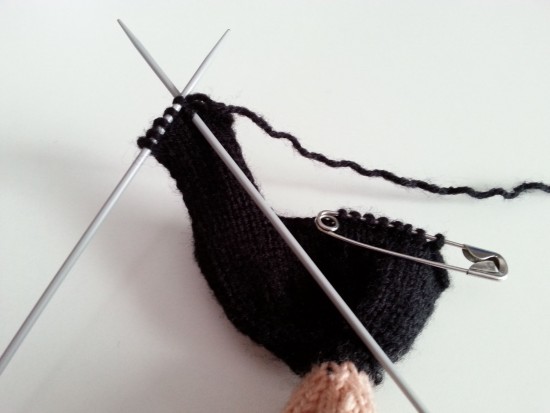
Begin creating the legs: cast off 4 stitches, knit next 8 stitches, cast off 6 stitches, knit next 8 stitches. Cast off final 4 stitches, taking the last stitch off the needle and pulling the yarn through to finish, leaving a tail for sewing when cutting the yarn. You should have two sets of 8 stitches left on the needle.
Rejoin the yarn and purl across the first leg. Slide the stitches for the other leg onto a stitch holder. Knit one row, tying the yarn end to the working yarn at the end of the row to secure it.
Beginning with a purl row, work 15 rows of stocking stitch. Cast off the first leg.
Slide the stitches for the second leg back onto the needle, rejoin the yarn and work as for the first leg.
Arms (makes 2)
Work as for bride, using skin colour for the first 3 rows and black for the remaining 9 rows.
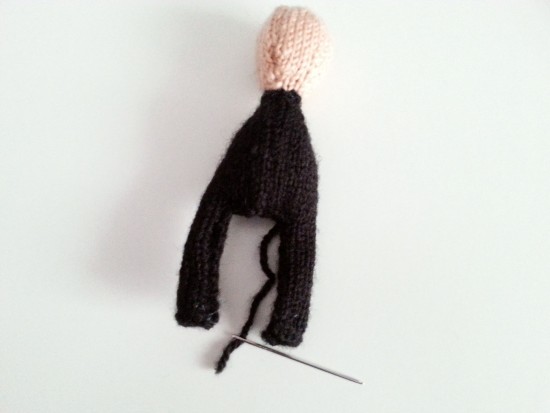
To make up: sew and fill the head as for the bride. Sew down the back to the cast off edge with a length of black yarn and lightly fill the body. Weave the tail to one side and sew across the cast off edges of the body, being careful not to catch any stuffing. Sew down each leg, tucking the cast off ends inside.
Now to decorate the figures and really bring them to life!
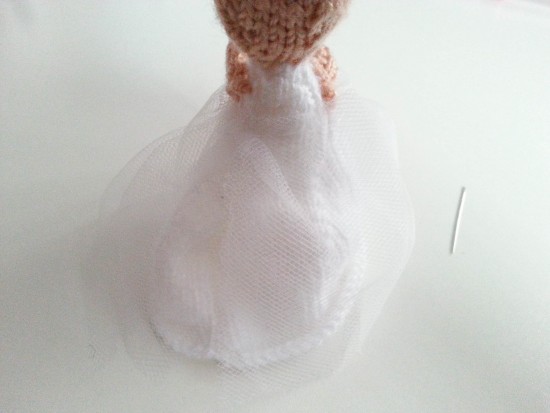
I gathered a piece of tulle around the bride’s waist, securing it with a couple of stitches and a little craft glue, and covered the stitches with a ribbon. I also placed a flower between her hands before sewing them together. I chose one with leaves to suggest a bouquet. For the bride’s hair, I covered her head with long straight stitches, and topped it off with a tiny piece of tulle for a veil.
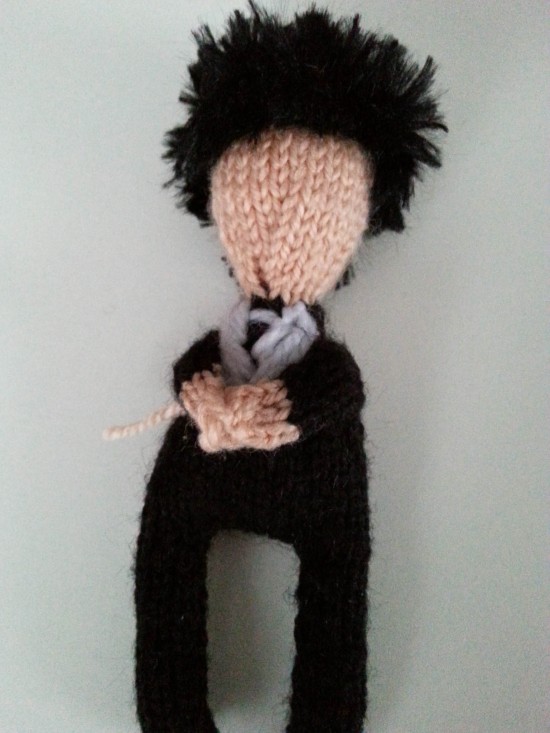
For the groom’s hair, I used a feathery yarn, working 16 rows of garter stitch over 10 stitches and stitched the finished piece to his head. Using white yarn and straight stitches, create a shirt on the front of his body, leaving a space in the centre to create a tie.
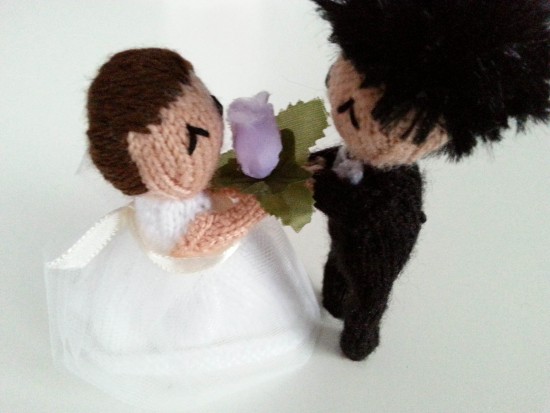
Add eyes to both with black embroidery thread stitch the groom’s hands together and to the bride’s so they’re holding hands!
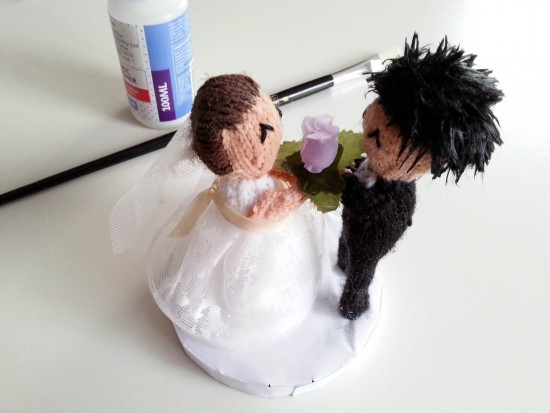
Attach the figures to the base with craft glue. I covered the lid of a gift box with paper to create my base. If you plan on placing the figures on a cake or near food, seal them with a fabric stiffener or varnish to stop them from dropping fibres.
![]()
Ms Chinoiserie Says: A wonderfully cute cake topper for all of our DIY knitters; such a lovely keepsake too!


Is that worsted weight yarn that you used for this project?
Hi Shelley,
I think the yarn was more of a light worsted based on the recommended needle sizes, but even so the yarn I used for the skin was a little thinner and the black yarn a little thicker, so it’s not exact! The finished size of the project will also depend on tension and needle size.
Thanks for your question!
Charlotte