

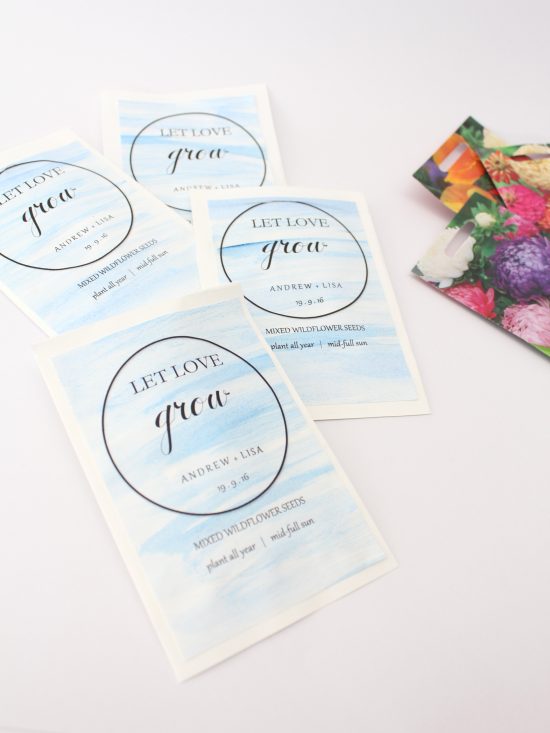
Creating something unique for your wedding favours is the perfect way to inject a little of your personality into your big day. We love the idea that by giving your guests wildflower seeds, they will be enjoying the memory of your special day in the months to come.
This wildflower seed packet favour tutorial is simple and inexpensive. It only requires a few, easily purchased materials, and the process itself is an enjoyable one. You can easily style the watercolour to complement your event palate. Be creative! You could always use a photograph of the two of you as part of the seed packet label, or write a thank you poem to your guests for sharing in your day. Just think, your guests will be able to marvel at the beautiful flowers created from these seeds in the seasons to come. What a lovely representation of your love!
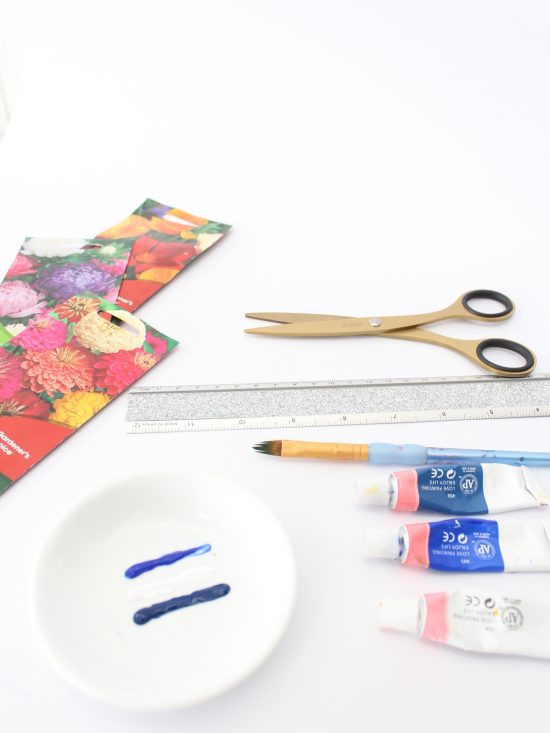
What You’ll Need:
These are enough materials to create 12 seed packets. Multiply as necessary.
6 x sheets stiff white paper
Scissors
Ruler
3 x sheets textured white paper for watercolour
3 x small tubes assorted blue paint (or whichever colour you decide)
Paintbrush
Shallow dish for mixing paints & water
10 x small cellophane bags (I found mine at Kmart)
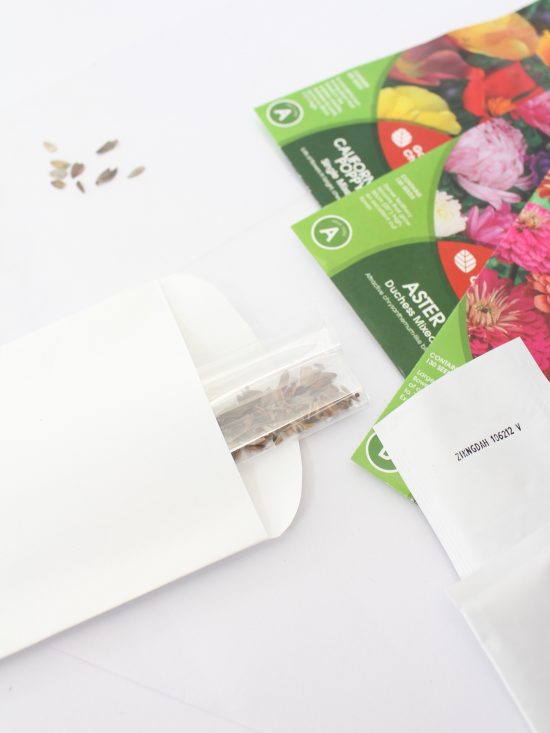
3 x assorted packs of wildflower seeds
Glue tape
Access to computer and printer
What to do:
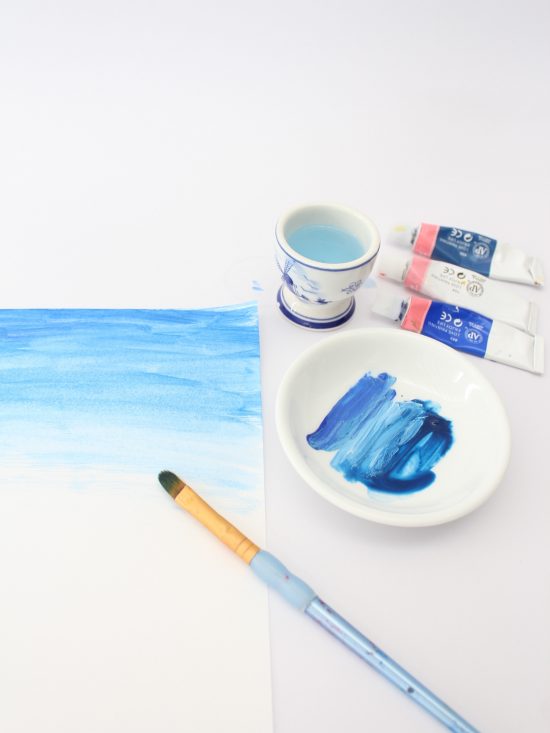
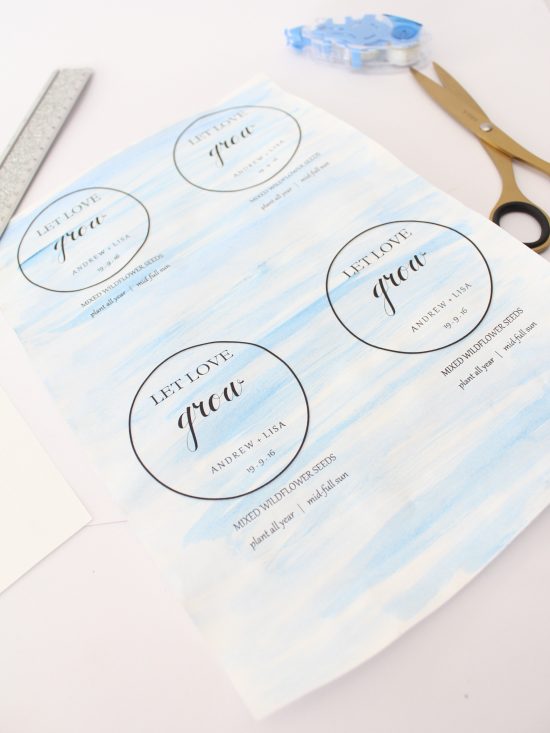
Step 1. Firstly, play around with the water colour paints. Mix water with your paints and try a few practice sheets to see what effect you like. Take your time, this part of the process is very calming and enjoyable! I found the best combination was two different shades of blue, along with white. Once you are happy with your technique, paint three A4 sheets with horizontal brush strokes. Leave to dry.
Step 2. Meanwhile, create the seed packets with the stiff white paper. Cut a rectangle that measures approximately 19cm x 15cm (approximately half an A4 sheet). Fold in half so you have a rectangle that is 9.5cm x 15cm. Cut a curve in one end of the envelope as pictured below.

Step 3. Using glue tape, glue the open sides of the envelope (leaving the curved end open). Place envelopes to the side.
Step 4. Sprinkle a combination of wildflower seeds into each cellophane bag. Make sure you choose seeds that need the same amount of sun and water. I chose seeds that could be planted all year round and required moderate – full sun.
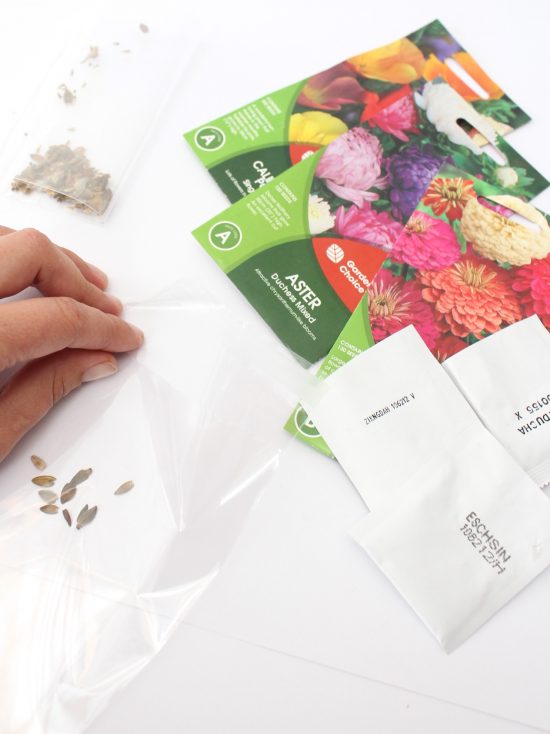
Step 5. Roll the cellophane bags and seal. Insert them into the paper envelopes. Seal the end of the envelope with glue tape.
Step 6. Create a logo for the front of the seed packets ready for printing. I used free online software PicMonkey.com to create the logo. I then saved the logo and inserted the image file into an A4 Microsoft Word document. I was able to display 4 x the logo on one A4 document.
Step 7. Once the watercolour paint sheets are dry, insert into your printer. Print three sheets of logos. Allow ink to dry.
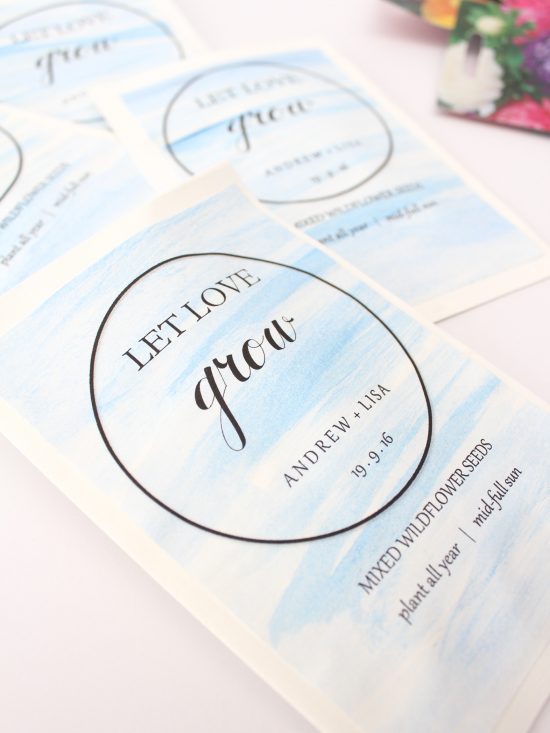
Step 8. Cut logos to size and attach to front of envelopes using glue tape.
![]()
Ms Chinoiserie Says: What a beautiful idea – such a sentimental and heartfelt thank you for your guests!
About Jess Bauer: Hi, I’m Jess and I’m a writer. I am a lover of words and stories, pretty papers and flowers. I find great satisfaction in creating something beautiful from the simplest of materials and am happiest in a home bustling with conversation and music, sitting at a beautifully decorated table surrounded by good friends and delicious food – with a glass of champagne in hand, of course!


Join the conversation