

A wedding can be a great experience for a child – soft drink and dancing and most likely lots of family and friends that they know – all together in the one place. But, it’s also a long day – and during speeches and all the not-so-exciting (for a kid) parts of a wedding, it’s a good idea to be prepared and have some items on hand for entertainment.
This tutorial for a children’s wedding entertainment kit includes all of the essentials: colouring, activities, bubbles, sweets, games and an activity. Of course, these can be put together depending on the age of the child – for a younger child you might substitute the older child’s activity based items for a picture book and soft toy.
Just remember, entertained children equals relaxed mum and dad guests which in turn, equals a festive and more carefree celebration! So, as we like to say, bring on the crayons!
What You Will Need:
To make one boy and one girl kit. Repeat as necessary.
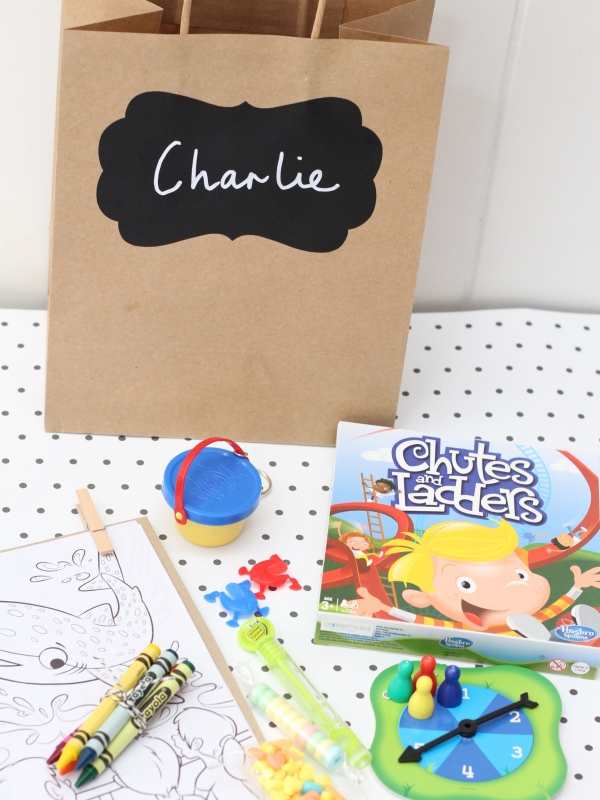
- Brown paper gift bags with blackboard labels
- Chalk pen
- 2 x pieces patterned paper
- Colouring book
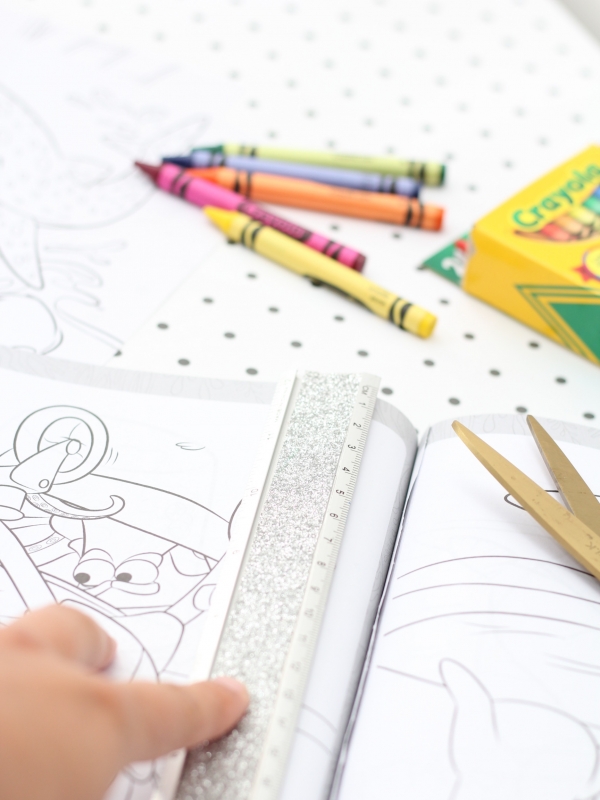
- Ruler
- Scissors
- 2 x pieces thick cardboard
- 4 x miniature wooden pegs
- Crayons
- Twine
- Individual bubbles
- 2 x miniature keychain games (found at Kmart)
- Wooden beads
- Elastic
- Cellophane bag
- Mini Snakes & Ladders board game (found at QBD Books)
- A few small sweets
What To Do:
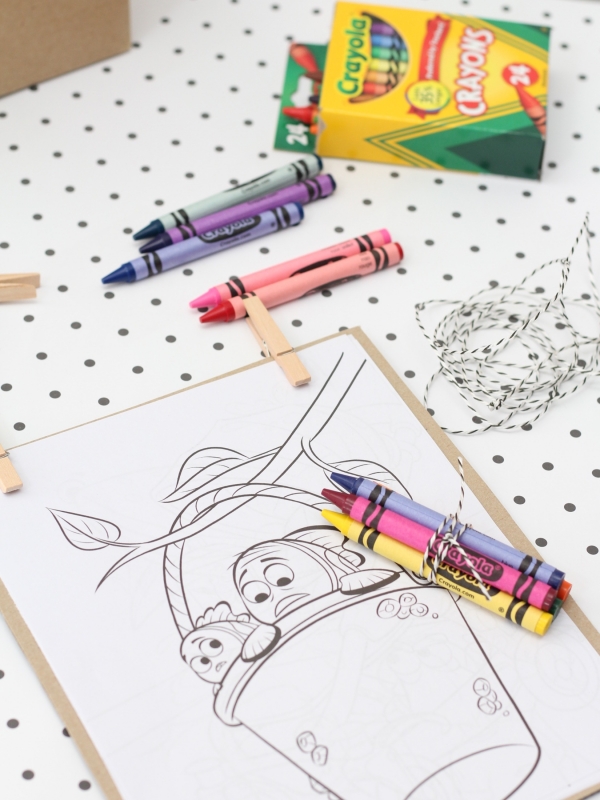
Step One. Using the ruler and scissors, cut five pages from the colouring book. Cut a piece of thick card slightly bigger than the colouring sheets. Attach the five colouring sheets to the card using the miniature wooden pegs.
Step Two. Choose five crayons in varying colours and tie together with twine.
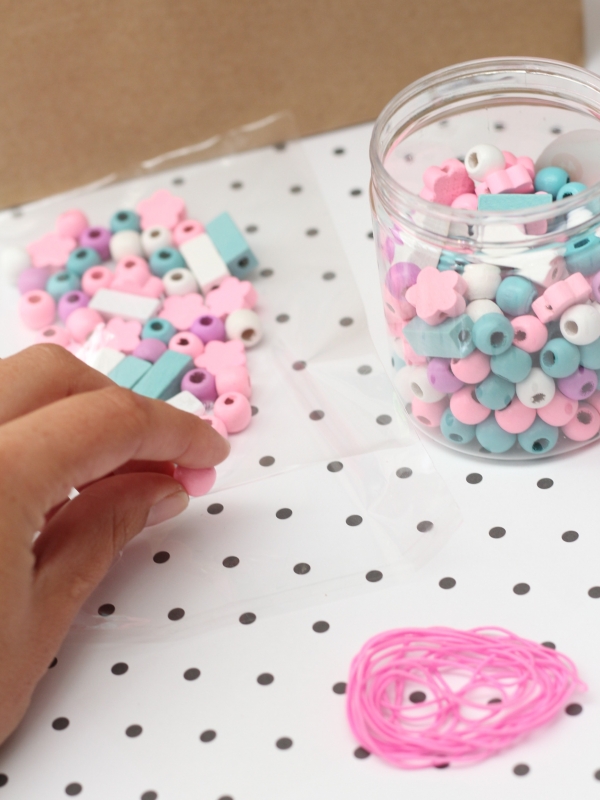
Step Three. Place a handful of beads into the cellophane bag. Add a few pieces of elastic which has been cut into necklace sized lengths.
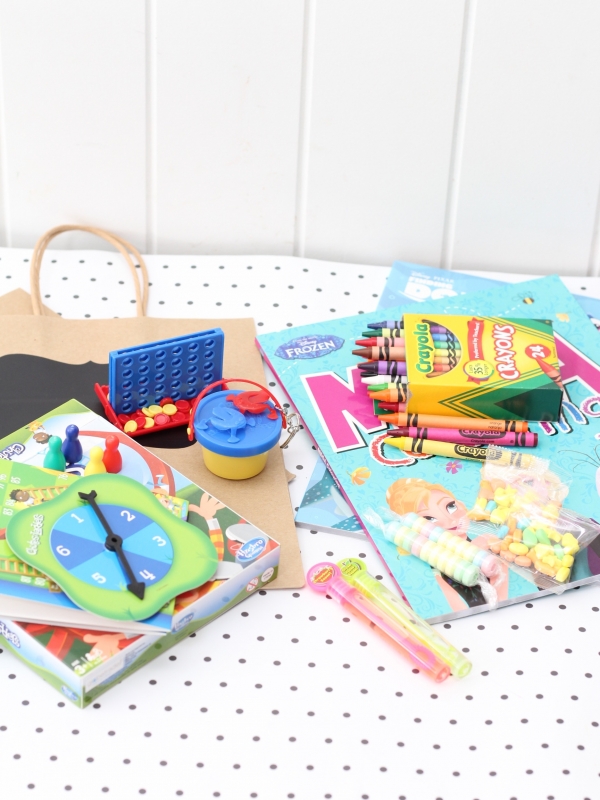
Step Four. Organise items for each bag.
Girls: Colouring Pages | Crayons | Miniature Game | Bead Activity | Bubbles | Sweets
Boys: Colouring Pages | Crayons | Miniature Game | Board Game Activity | Bubbles | Sweets

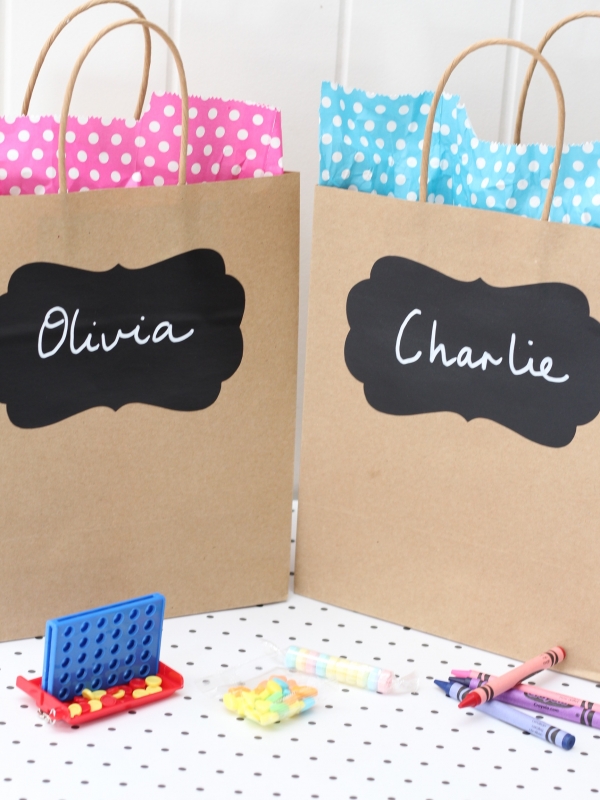
Step Five: Use the chalk pen to write each child’s name on the brown paper bag. Place all the items in the bag. Using the patterned paper, place a piece in each bag for extra decoration.
![]()
Ms Chinoiserie Says: Hours of fun; I love the sweet idea of pegging the colouring pages to the cardboard! So easy and simple!


Join the conversation